
MASTERING Craft Room Organization - Part 2 / The tools and supplies you need to stay organized.
Let’s face it, craft room organization is a never ending, ever-evolving process. At least that is the case for me. Even so, there are some changes that I have made to my space and investments I decided on that have made a huge difference in my crafting and scrapbooking process. I have mentioned many of these before, but I wanted to combine them here to share what has made the difference in allowing me to find what I need and use what I have and stay organized. And that what we all want, isn’t it? To know our stash, and use our stash!!
Now of course I could go on about every detail and every organizer (and I just might in future posts), but first I want to stay with an overview of the 5 things that have made the biggest difference in keeping me organized. From organizing stickers, to photos to paper, projects and tools, these are my craft room essentials.

1. Binders
Yes you read that right. Binders are one of the essentials in my craft room. I keep so many different things organized in binders, from die cut letters and numbers to small dies, to planner stickers, to lists of favorite fonts, and one of my absolute favorites, scrapbooking stickers. Of the binders I reach for most often, my title sticker binder stands out as a favorite. I will go over exactly how I have this binder set up in a future post, so stay tuned!
What is the key here? Finding a great binder that you love using, looks good and is durable. Many years ago I found the blue Wilson Jones binders you see in many of my videos. Since then, they have become discontinued, but I found a nice alternative you can check out here. In any case, my recommendation is to find a binder that you can easily purchase and add to your collection as you find more things to organize!
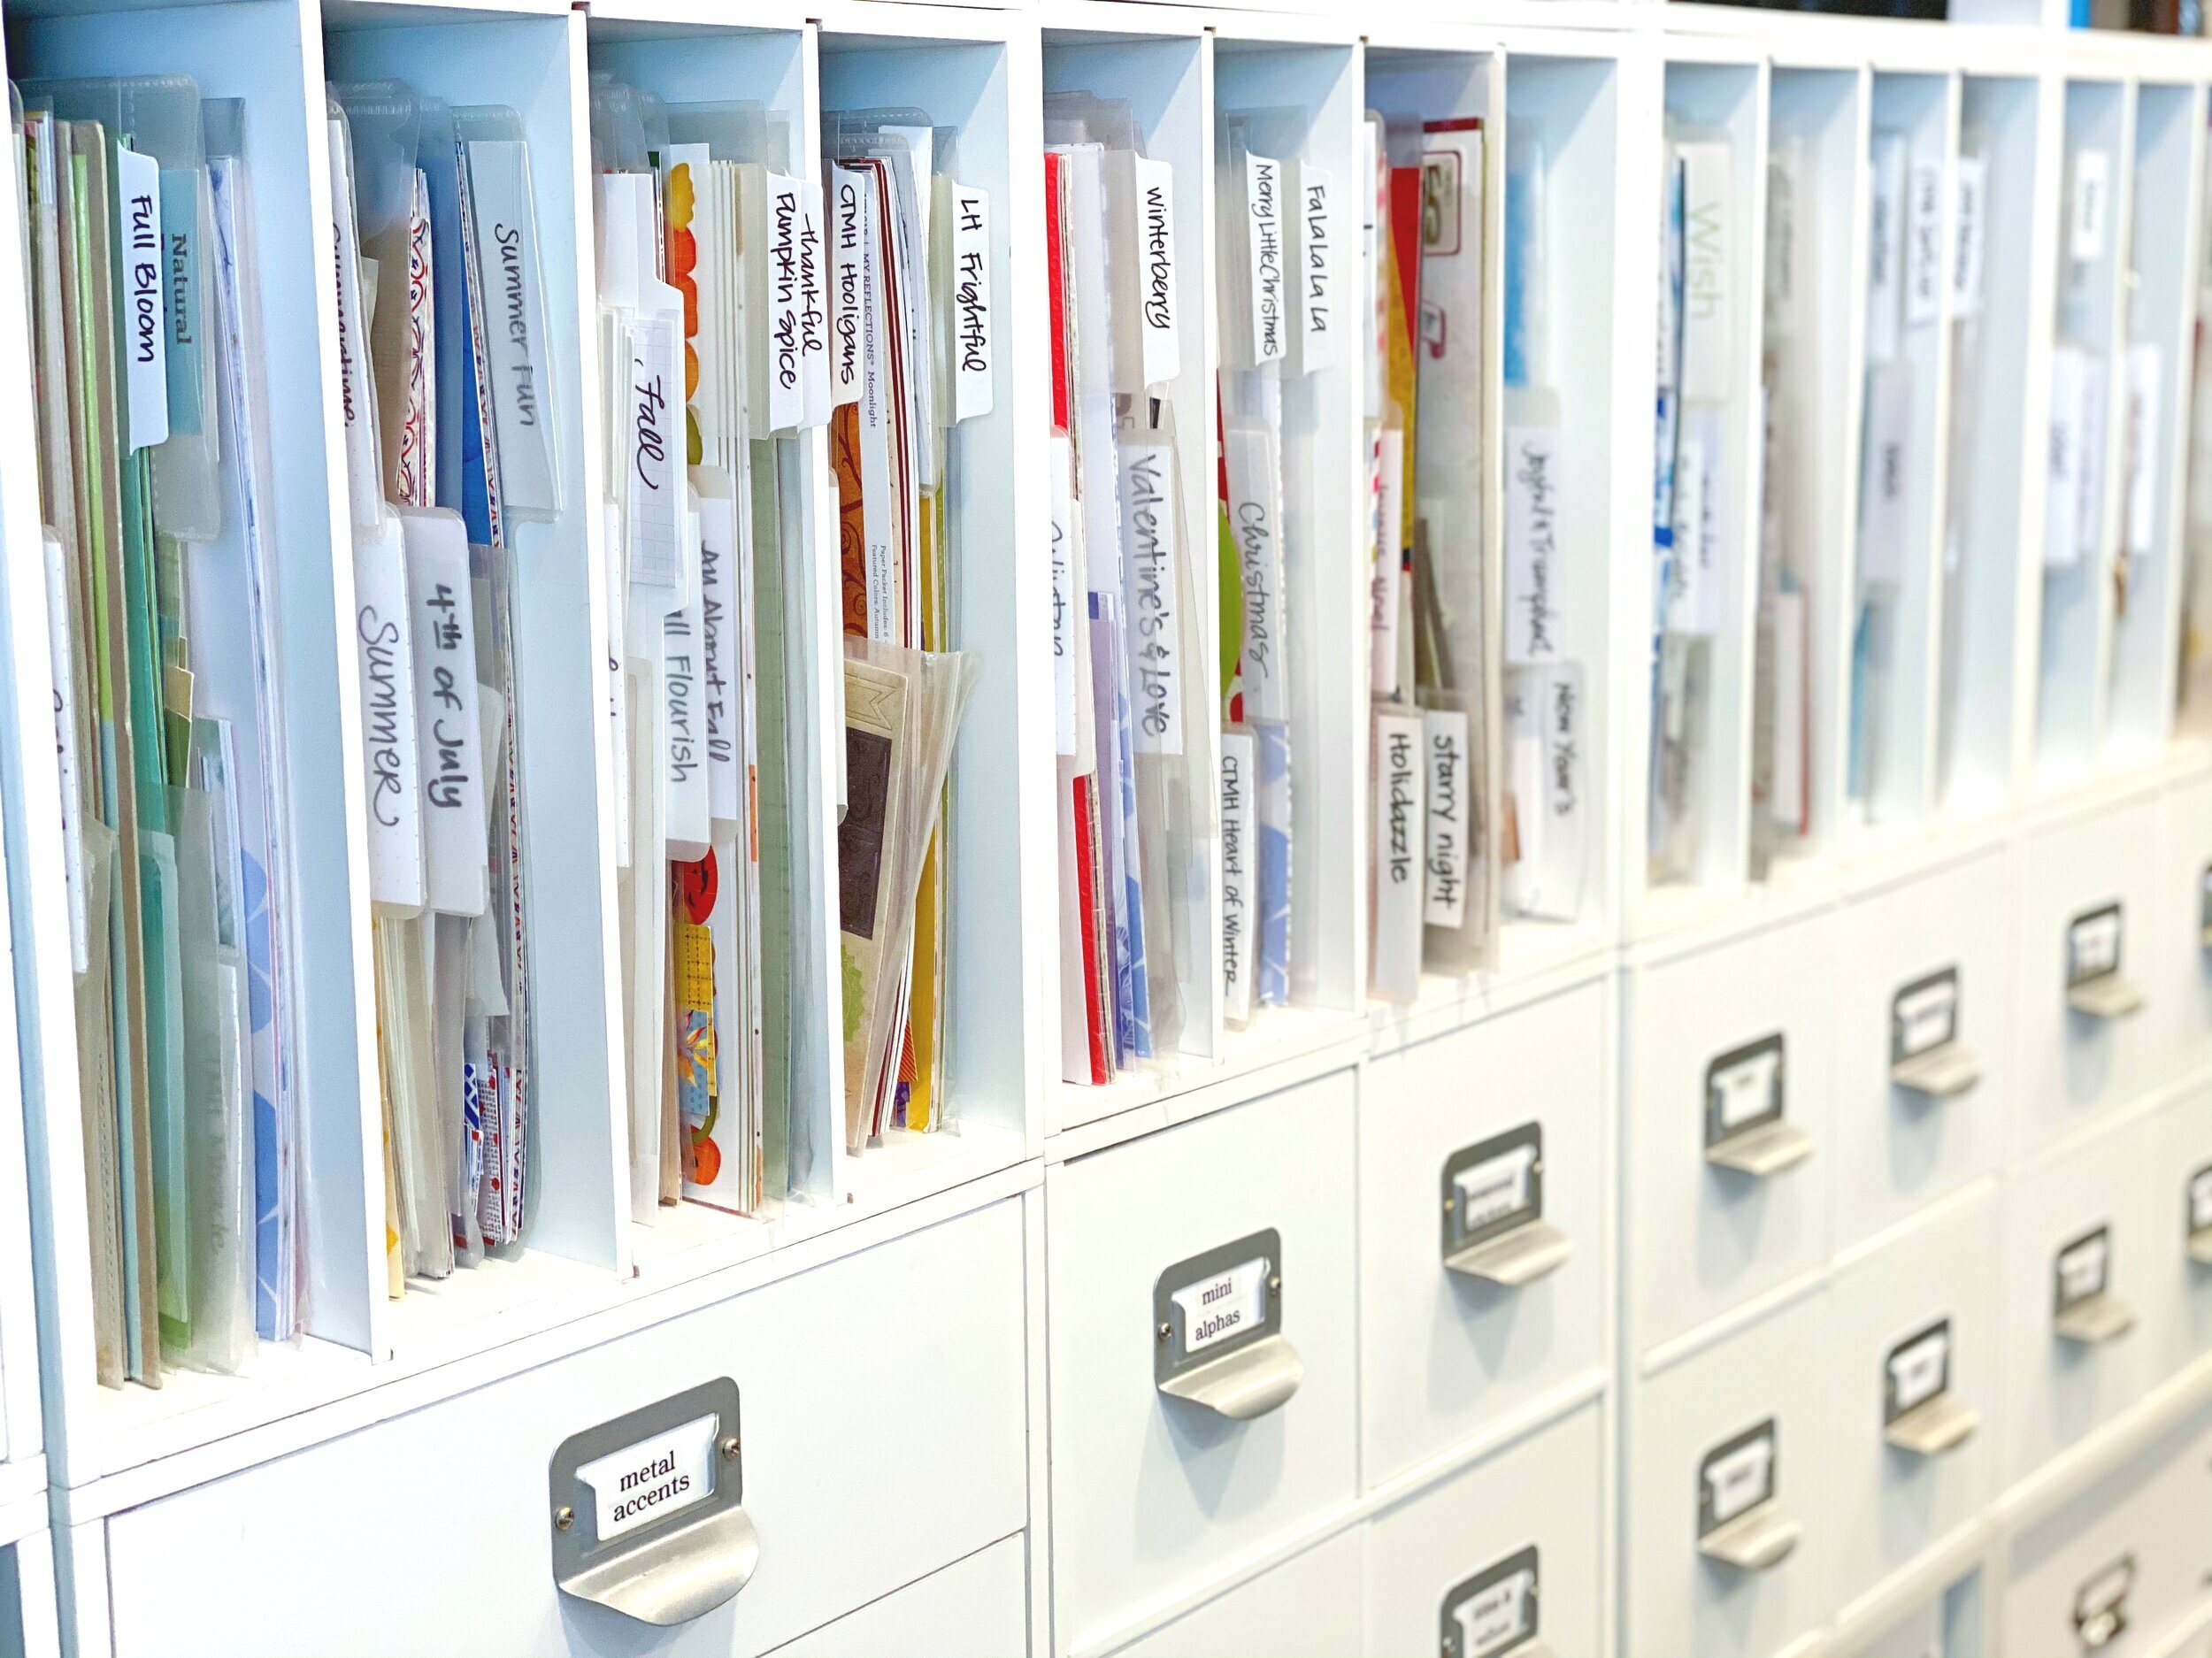
2) Power Project Folders & Record Sleeves
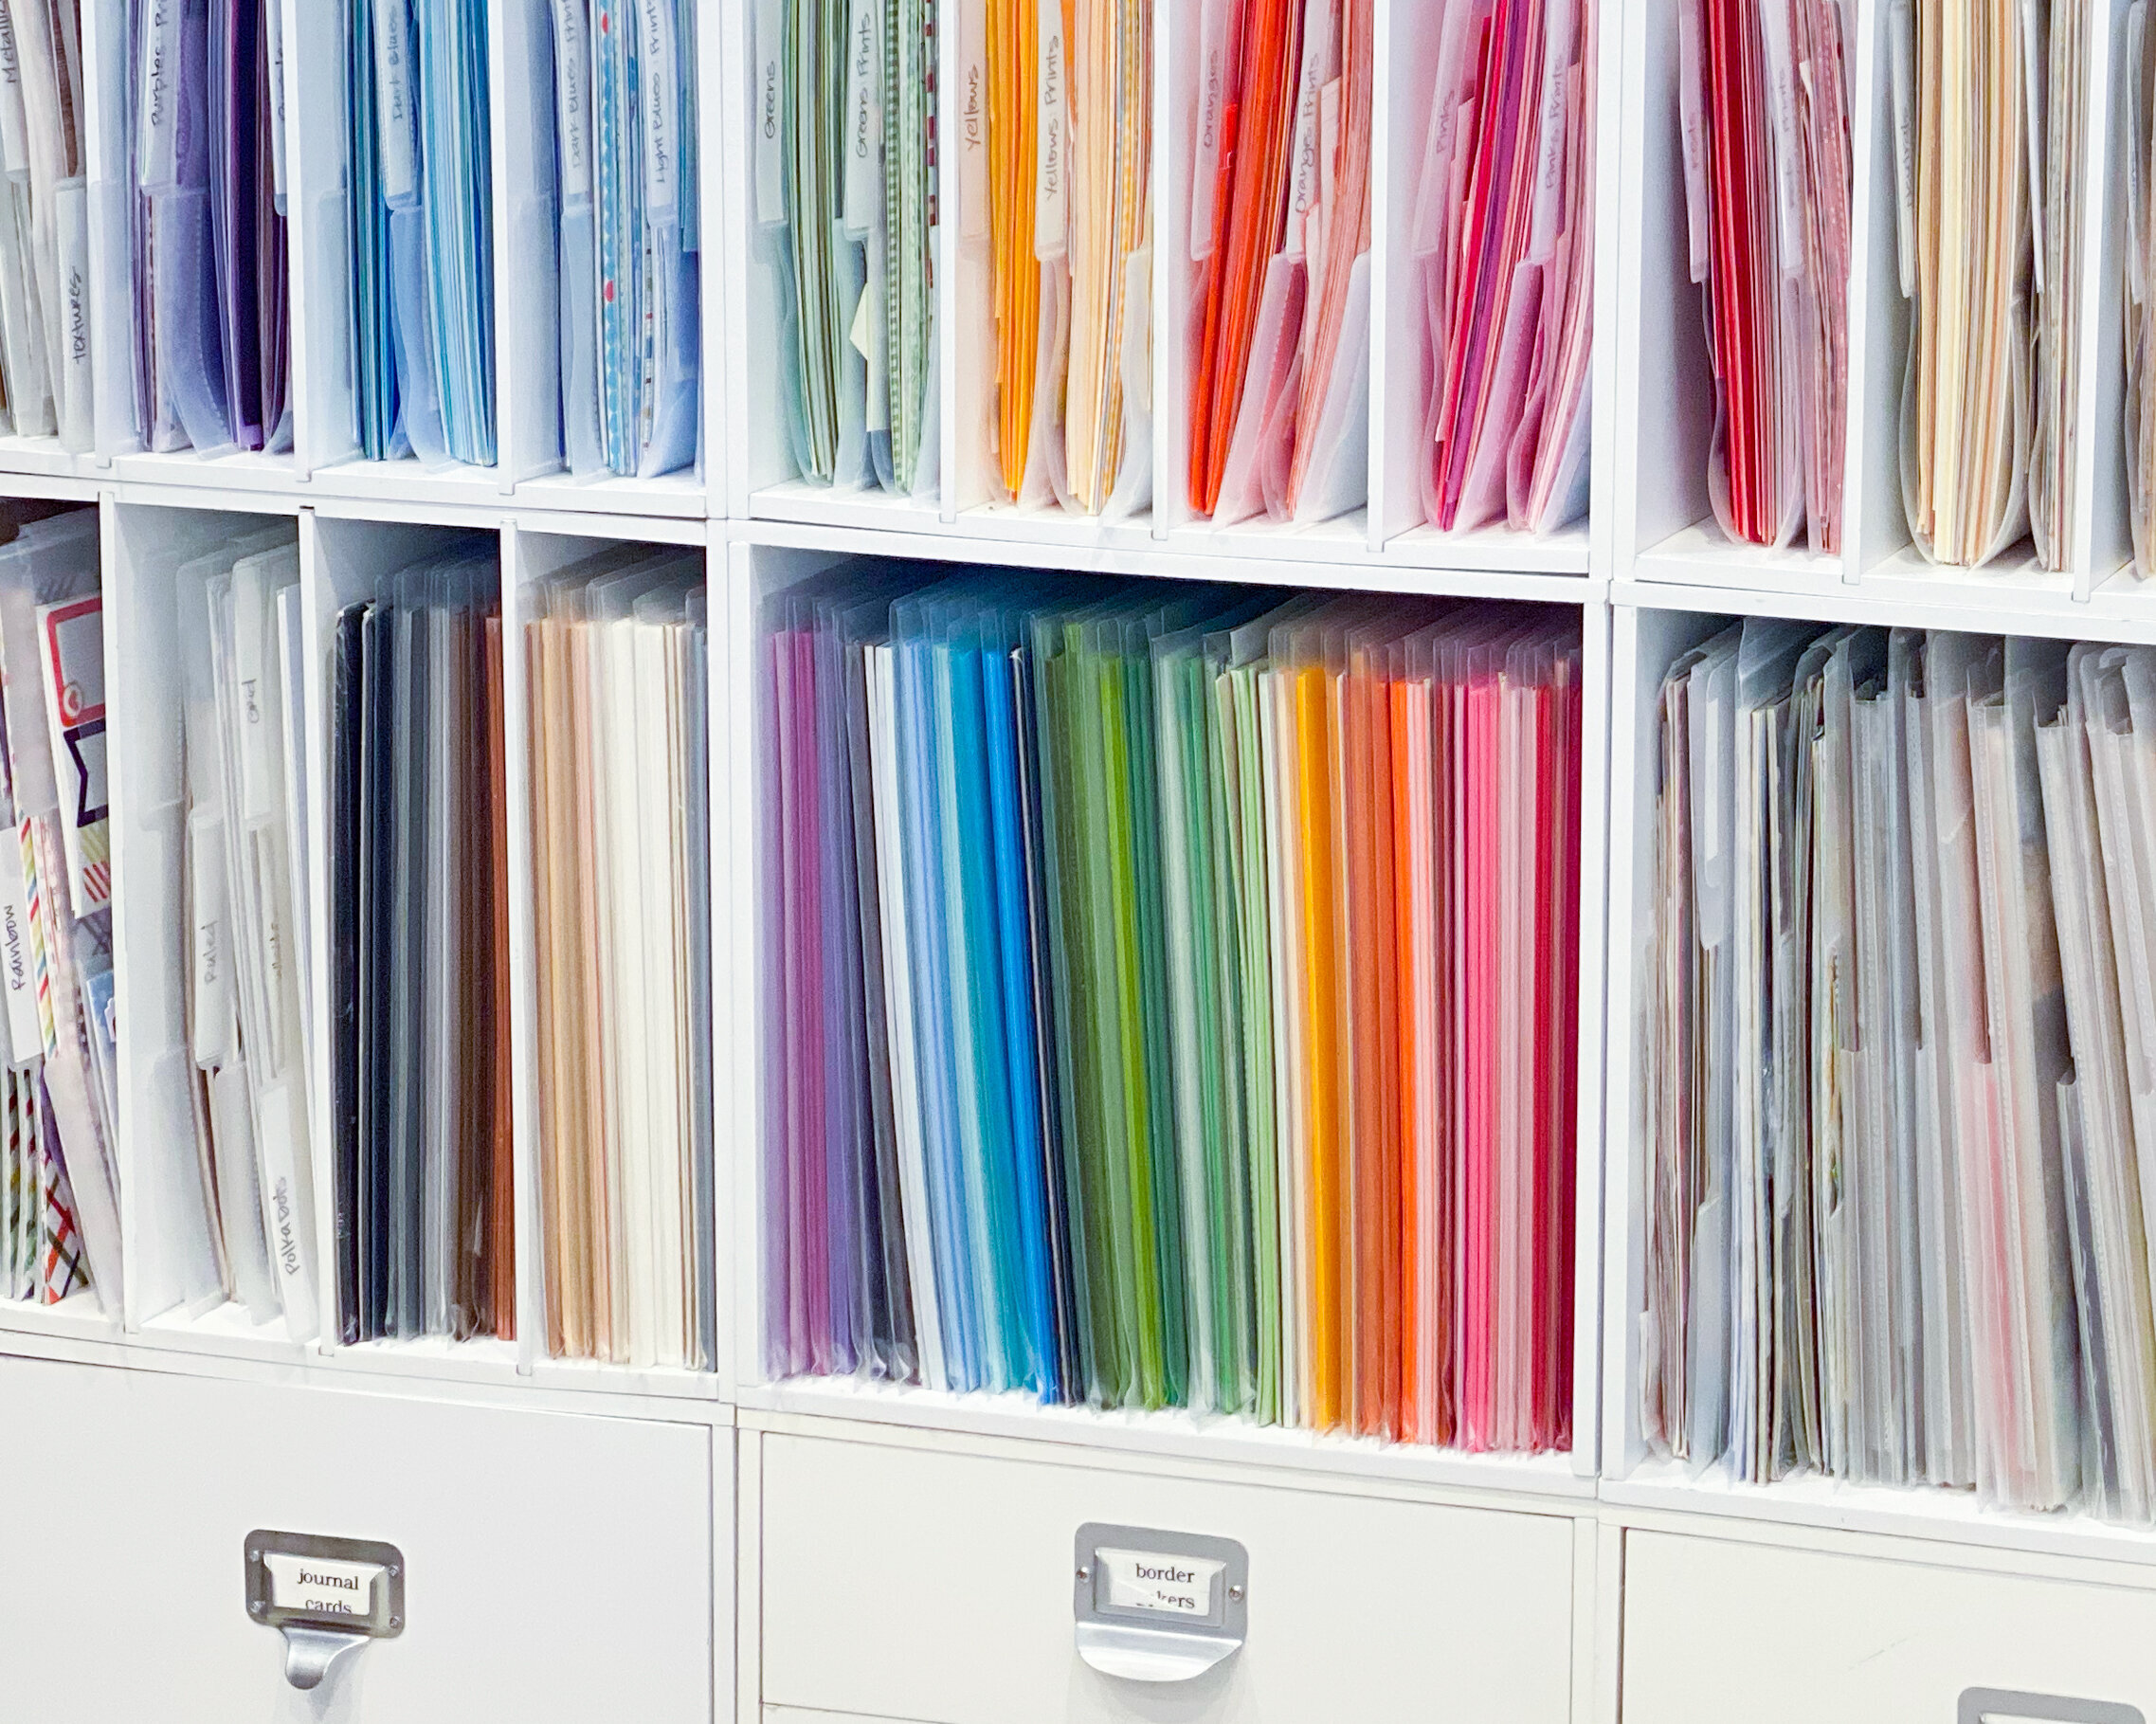
This is tried and true, and a system I have been using for many years. The power project folders from Creative Memories are really an amazing product, and I have a great video that shows exactly how to use them here. They hold A LOT (yes a lot) of paper, and offer a way to organize full sheets of 12x12 paper, journal cards, borders, strips and scraps. They are also perfect for keeping large theme collections and all the coordinating embellishments, mat packs, stickers, borders and more.

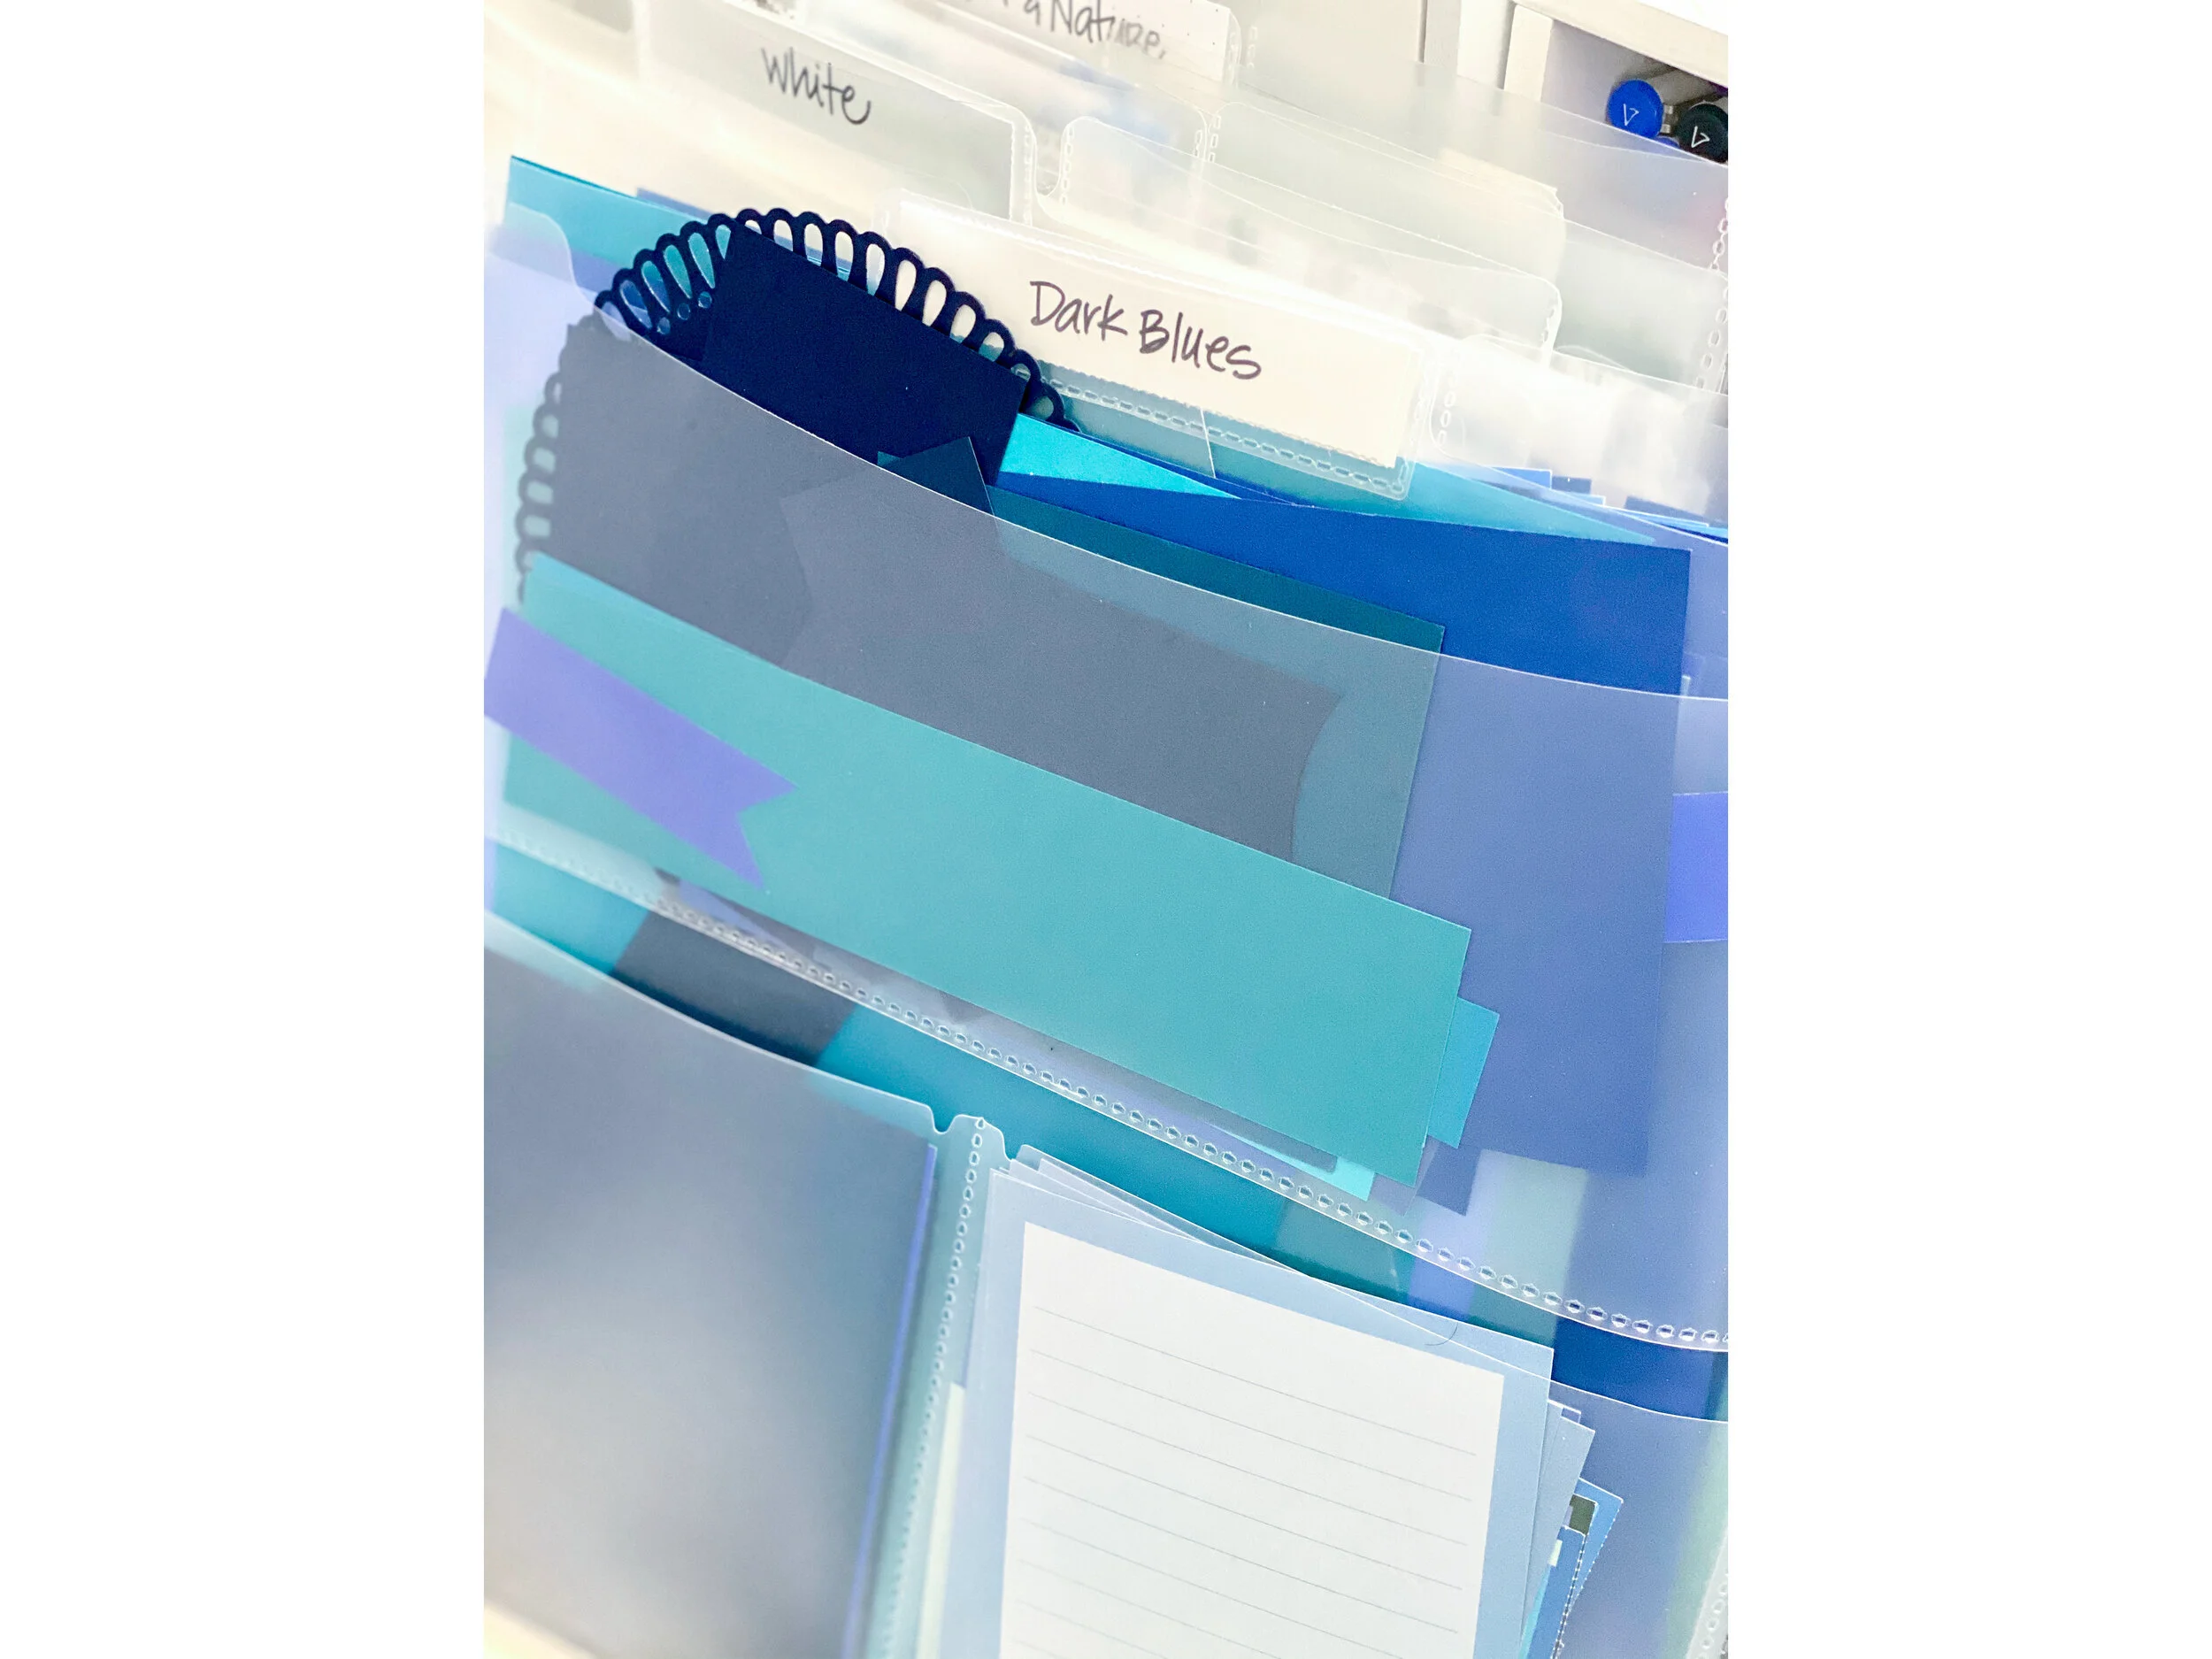
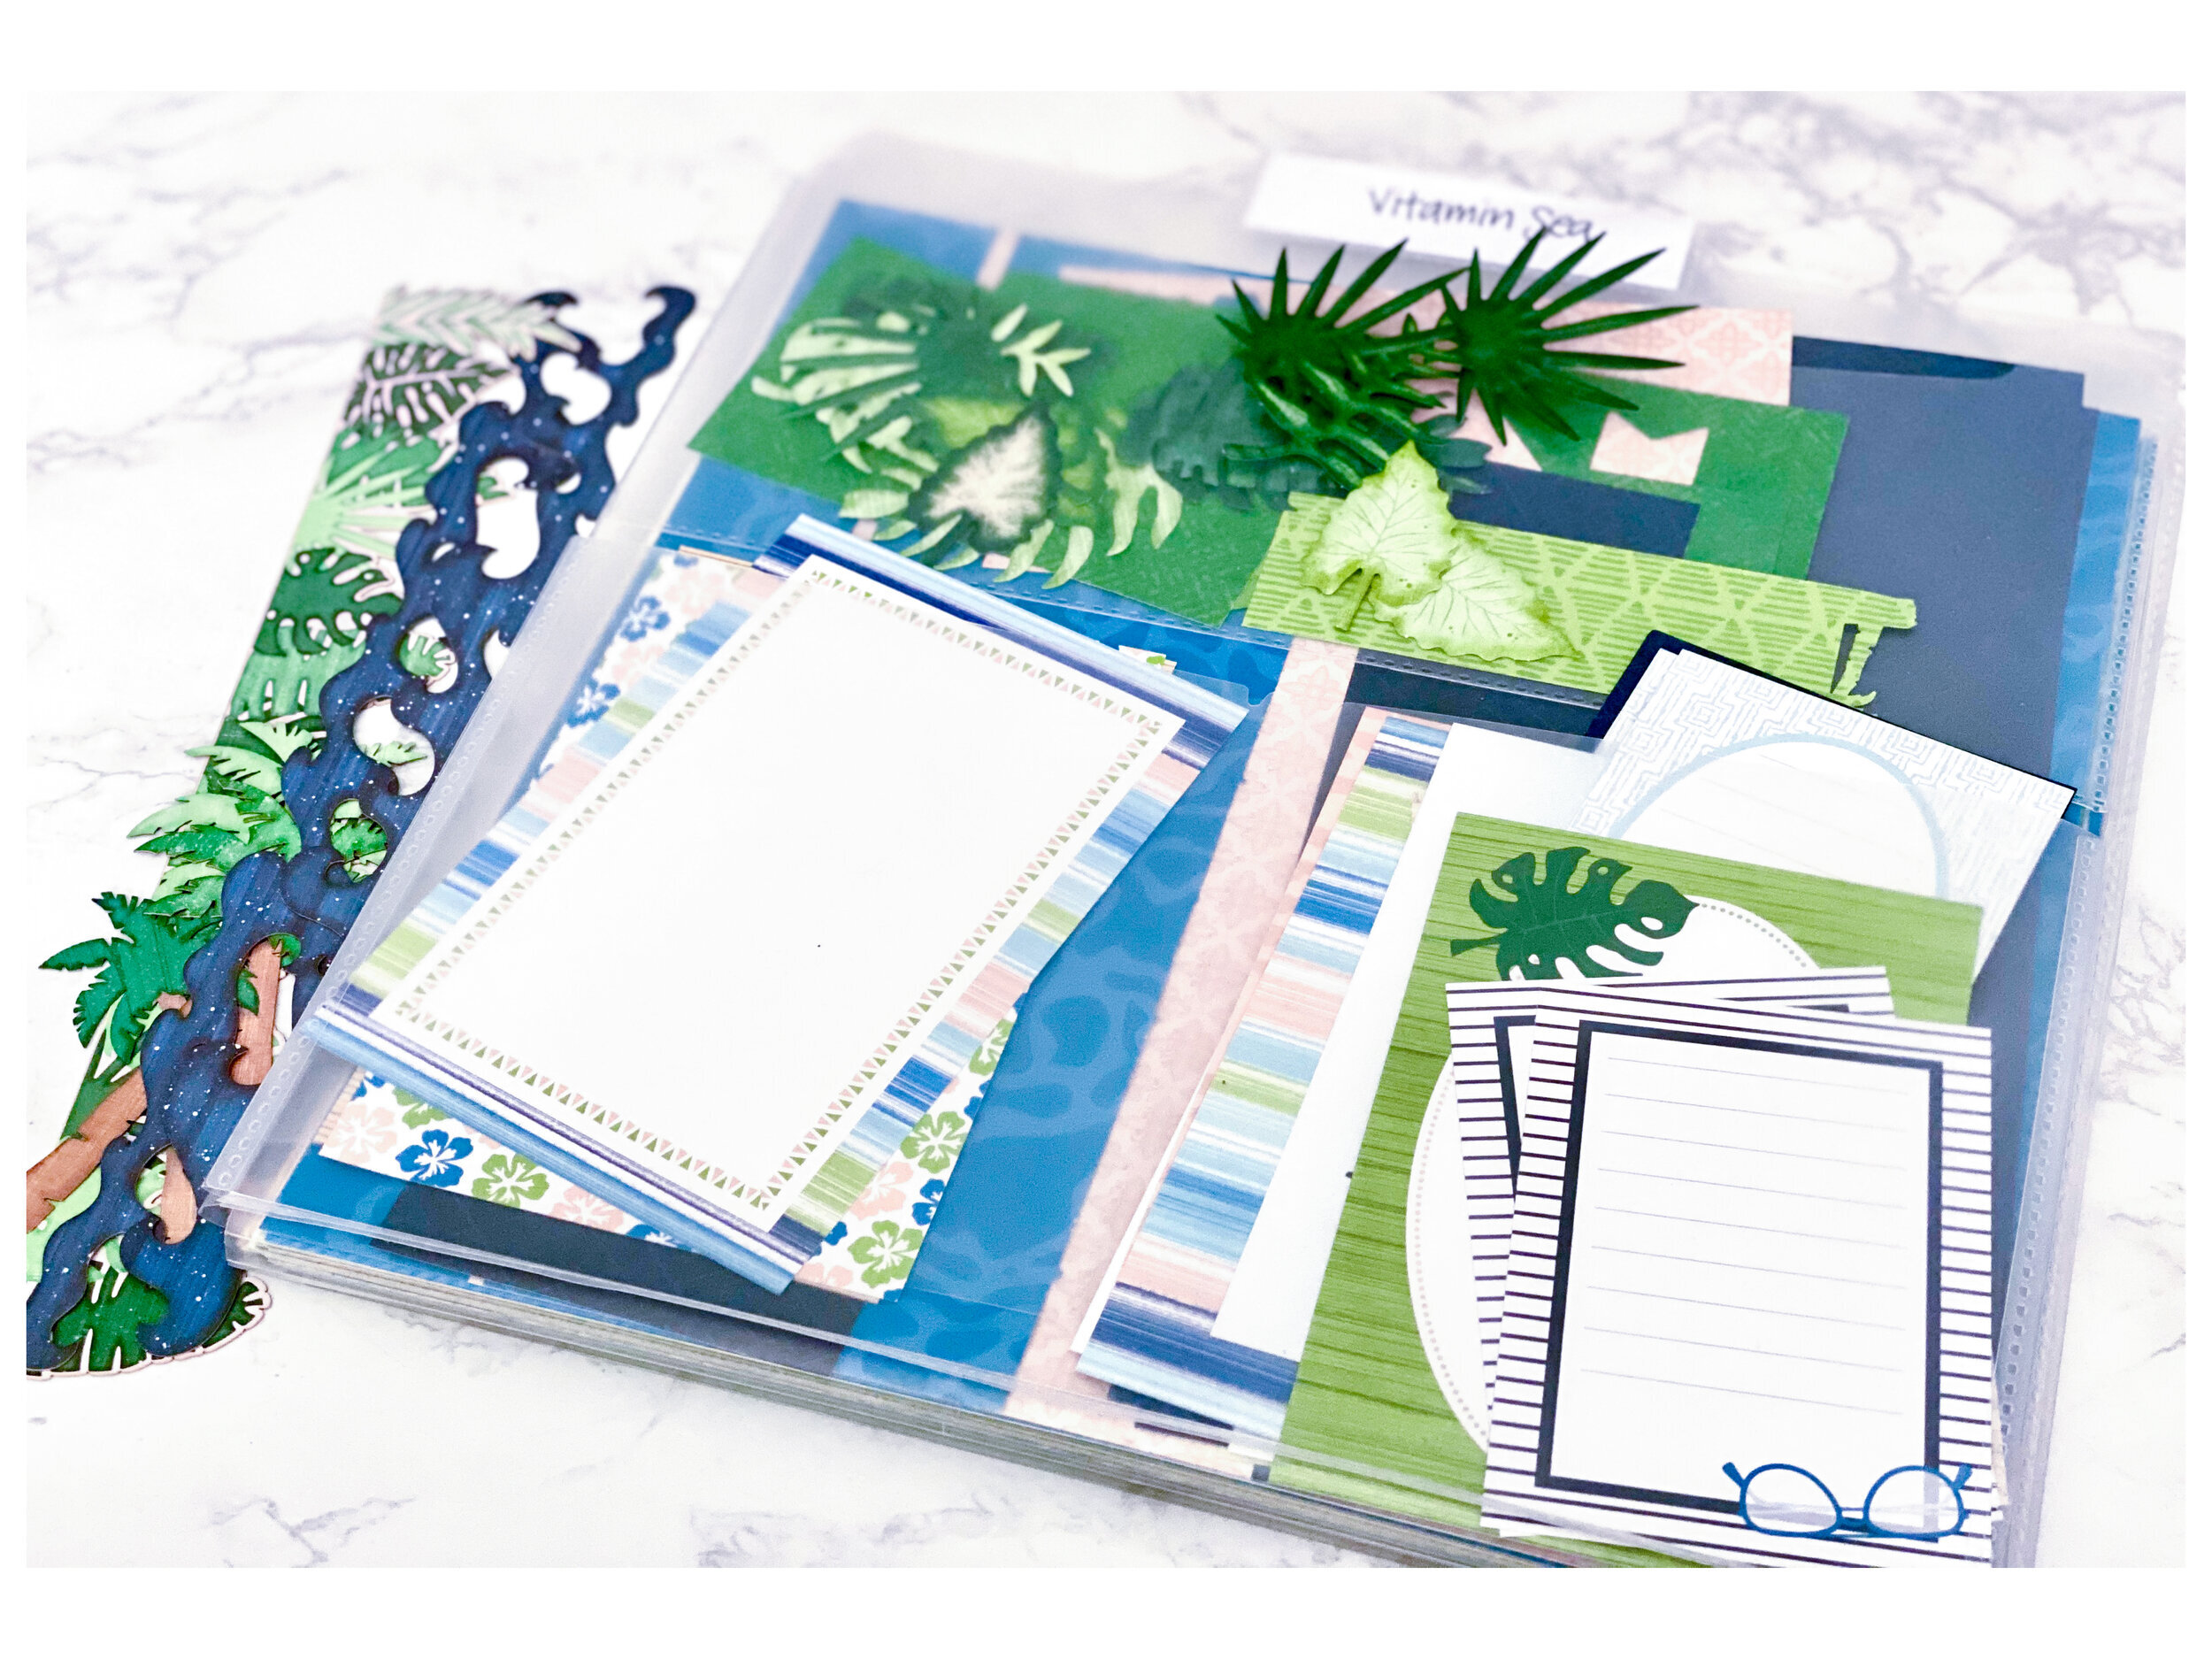
And what about smaller collections you want to keep together? My favorite are the record sleeves you can find here. Make sure they are the outer sleeves, and the ones with the flaps are my favorites. These work beautifully with the Avery ultra tabs for labeling your smaller kits. They are also perfect for storing extra solid colors of Cardstock together by color until you are ready to use them.

3) Disc bound organizers
Yes, similar to binders, but still so different! My love for organizing with these little plastic discs has grown and now I use them as a great way for binding not only my planner, but projects, ideas, notes, and of course my favorite, the Progress on Projects templates. And in case you have not discovered my POP series, you can find out more here and also download the free or decorated templates right here on my website.
My POP planner has now given me the freedom to really start making progress on my projects by keeping track of all the details, notes, thoughts and ideas that I never could keep track of before. Everything is now all in one place, written down once, and ready to reference whenever I need.

4) Photo boxes and photo folders
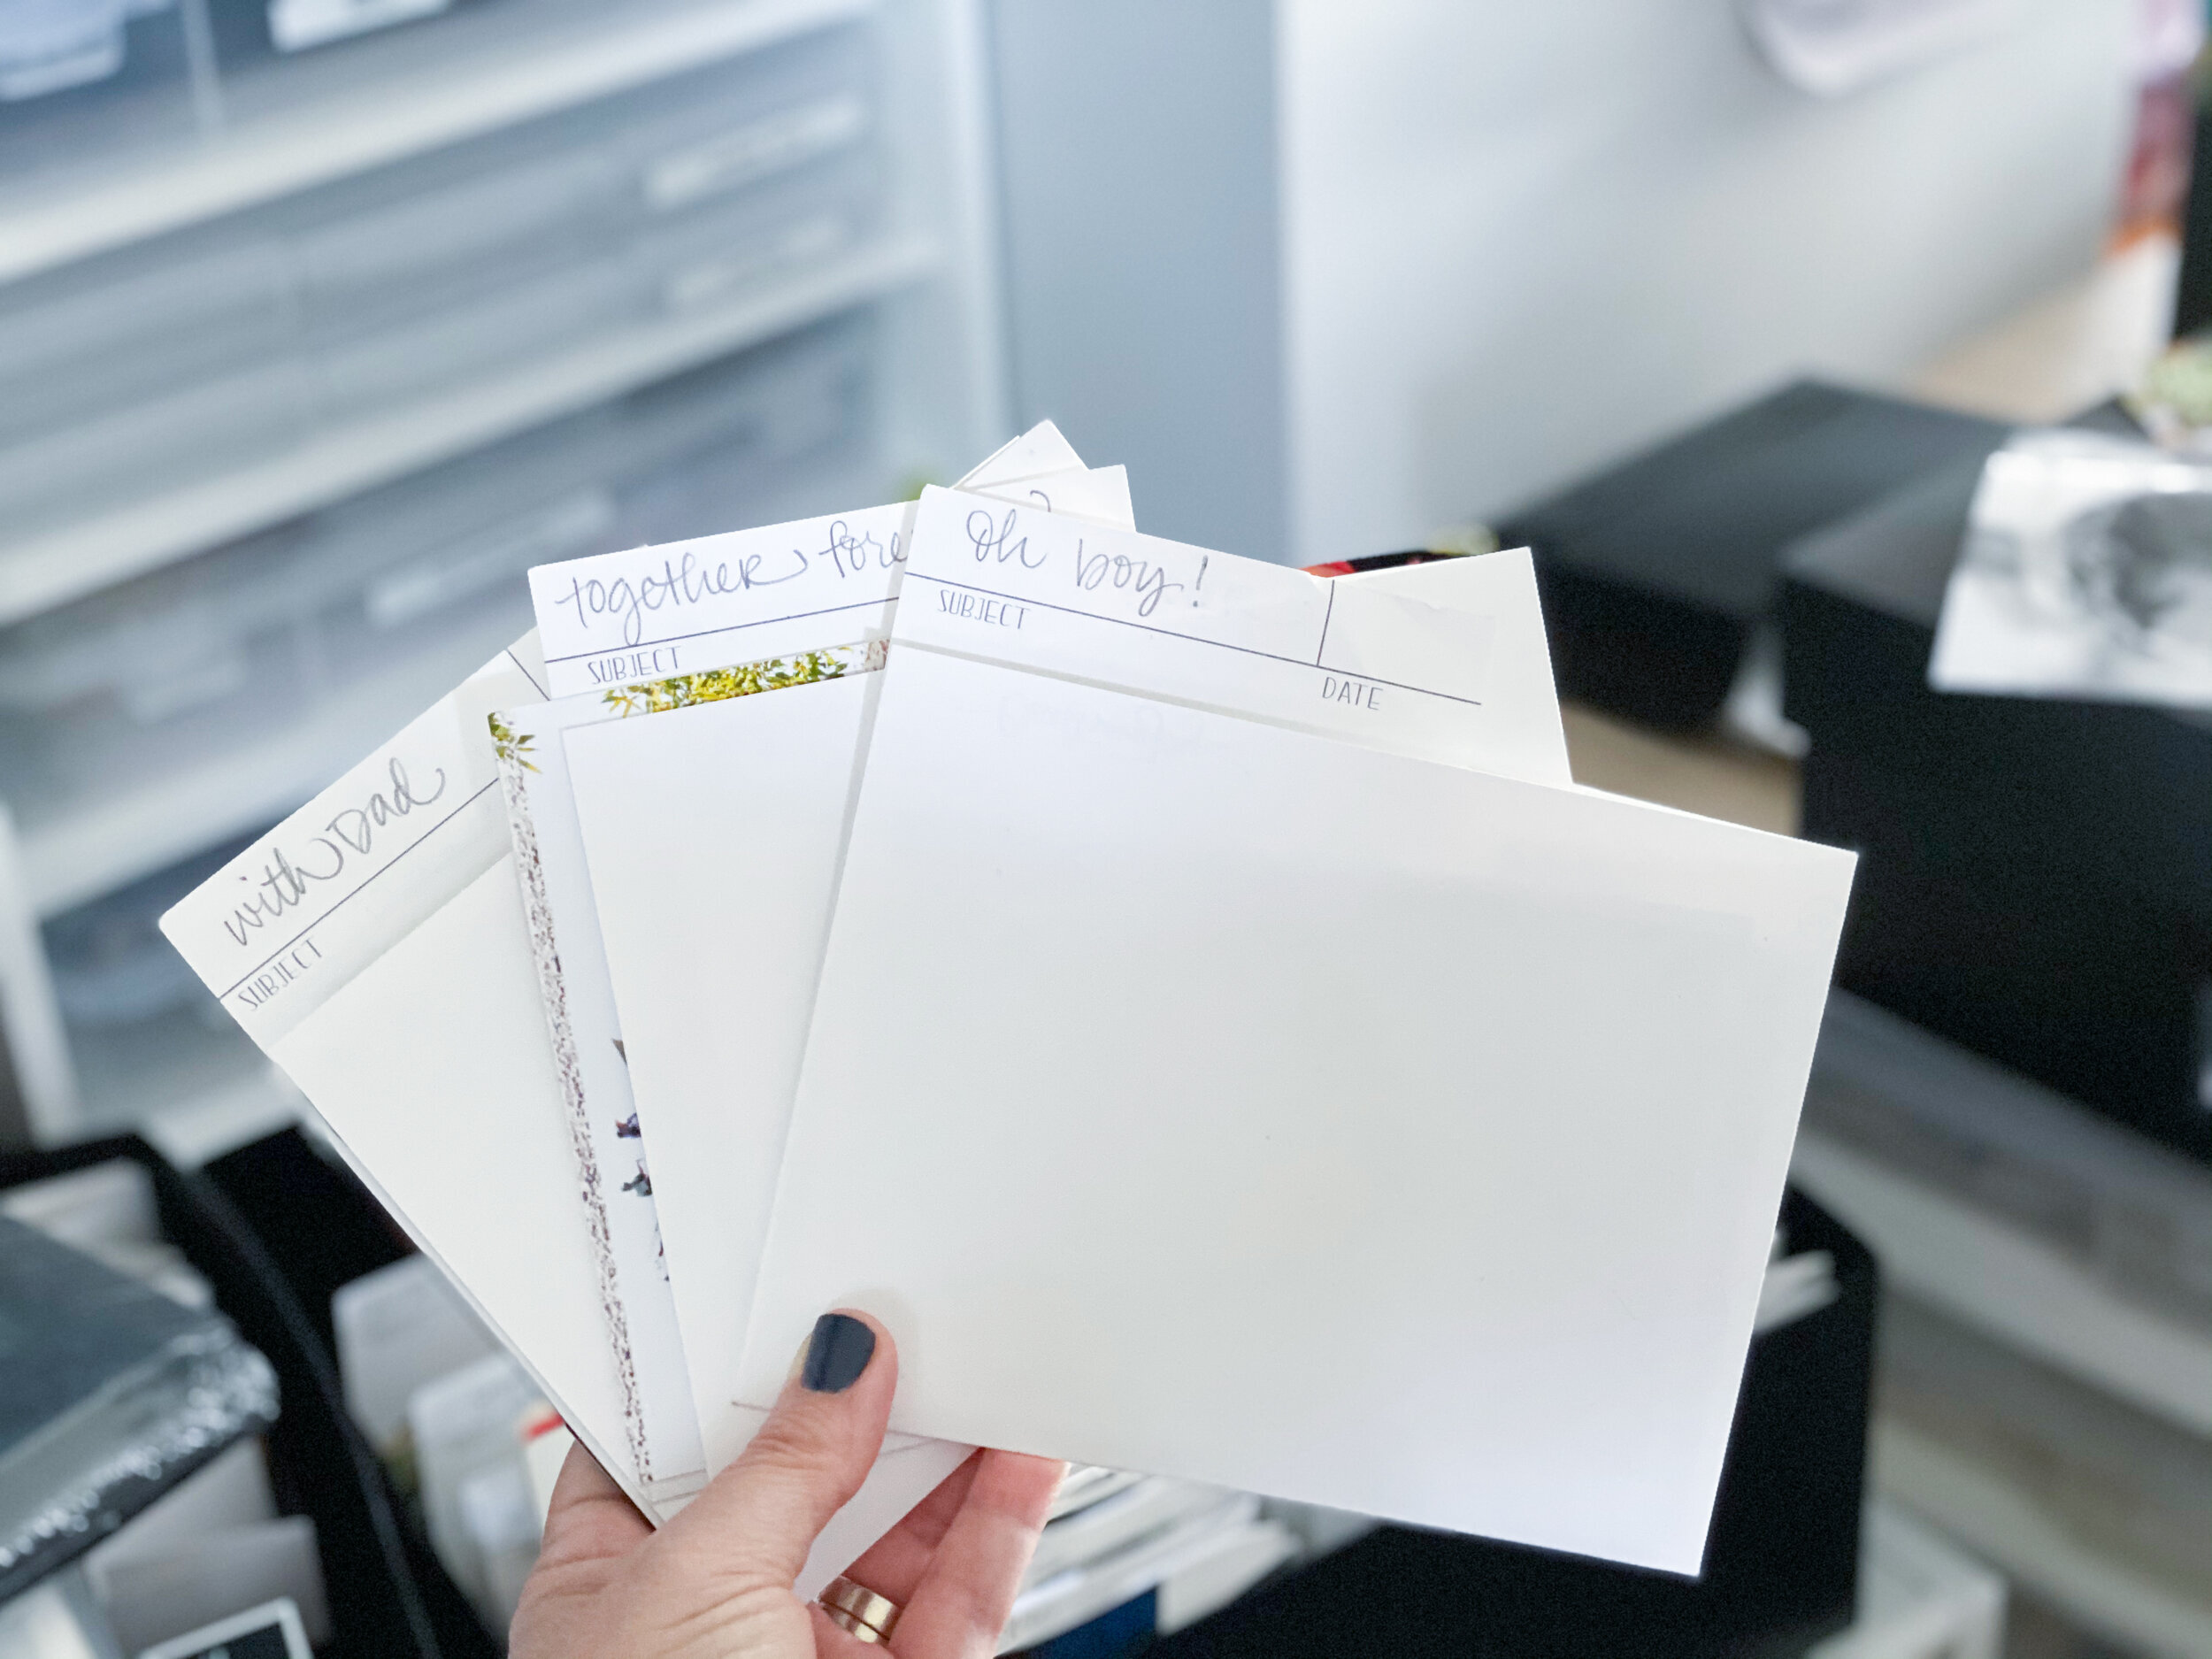
Yes, another amazing product from Creative Memories is the power sort box. It is archival, it is a great size, and it has PODS! Yes, I think that is my favorite part. Being able to organize and move those pods around has been a game changer. There is a lot to photo organization, but you can see more of my process with this video.
The missing piece I had always needed finally came to me a few years ago when I was trying to organize my photos once again. I longed for a way to hold and categorize my photos in a way that I could easily see and reference. And after playing a bit, the photo folder was created! You can get your free download here. My goal was to create an easy DIY with as few fold and cuts as possible. So although they are not an exact fit with the power sort box, they work well enough to keep everything organized and accessible! These little folders help me label groups of photos, organize projects and plan my album pages. For more info, check out this video.


5) Cubbies and Drawers
Yes, this one is a biggie, and where the investment comes in. One of my favorite features of my craft room is my “wall ‘o’ cubbies” which I invested in over many, many years. The original cubes were purchased from Michaels, and came in many different configurations. Although they are now no longer available, there is a new similar product that Michaels is featuring called simply tidy. The cubes are bigger, and sturdier, and still offer a great organization solution.
Another favorite besides cubbies are drawers, and IKEA has my favorites. The Alex rolling drawer unit provides the perfect place for my tools and a great worktop. The helmer drawers were the perfect solution for my huge stash of punches, and you can see more on that here.
So those are some of my favorites that have helped me keep my craft room organized and my stash accessible. Since organizing is such a passion for me, I am always on the lookout for finding more ways to keep my crafting and scrapbooking process running smoothly, and I can’t wait to share more with you!