
Craft Room Organization: Sticker Organization for Title stickers!
Have you ever found yourself thinking, “I know I have that sticker, now WHERE did I put it?” All too often I found myself saying those very words! Then came the idea to create a place where all my miscellaneous stickers could live together happily.
But how?
You probably know by now that binders are a key to my craft room organization, so I decided to give the binder system a try. And many months later, I am so happy I invested the time to get my stickers organized. The binder that I reach for most often when I am scrapbooking is my Title Sticker Binder, so I wanted to share how I created this binder.
If you would like to see this organization system in action,
you can check out this video:
So Let’s get started!
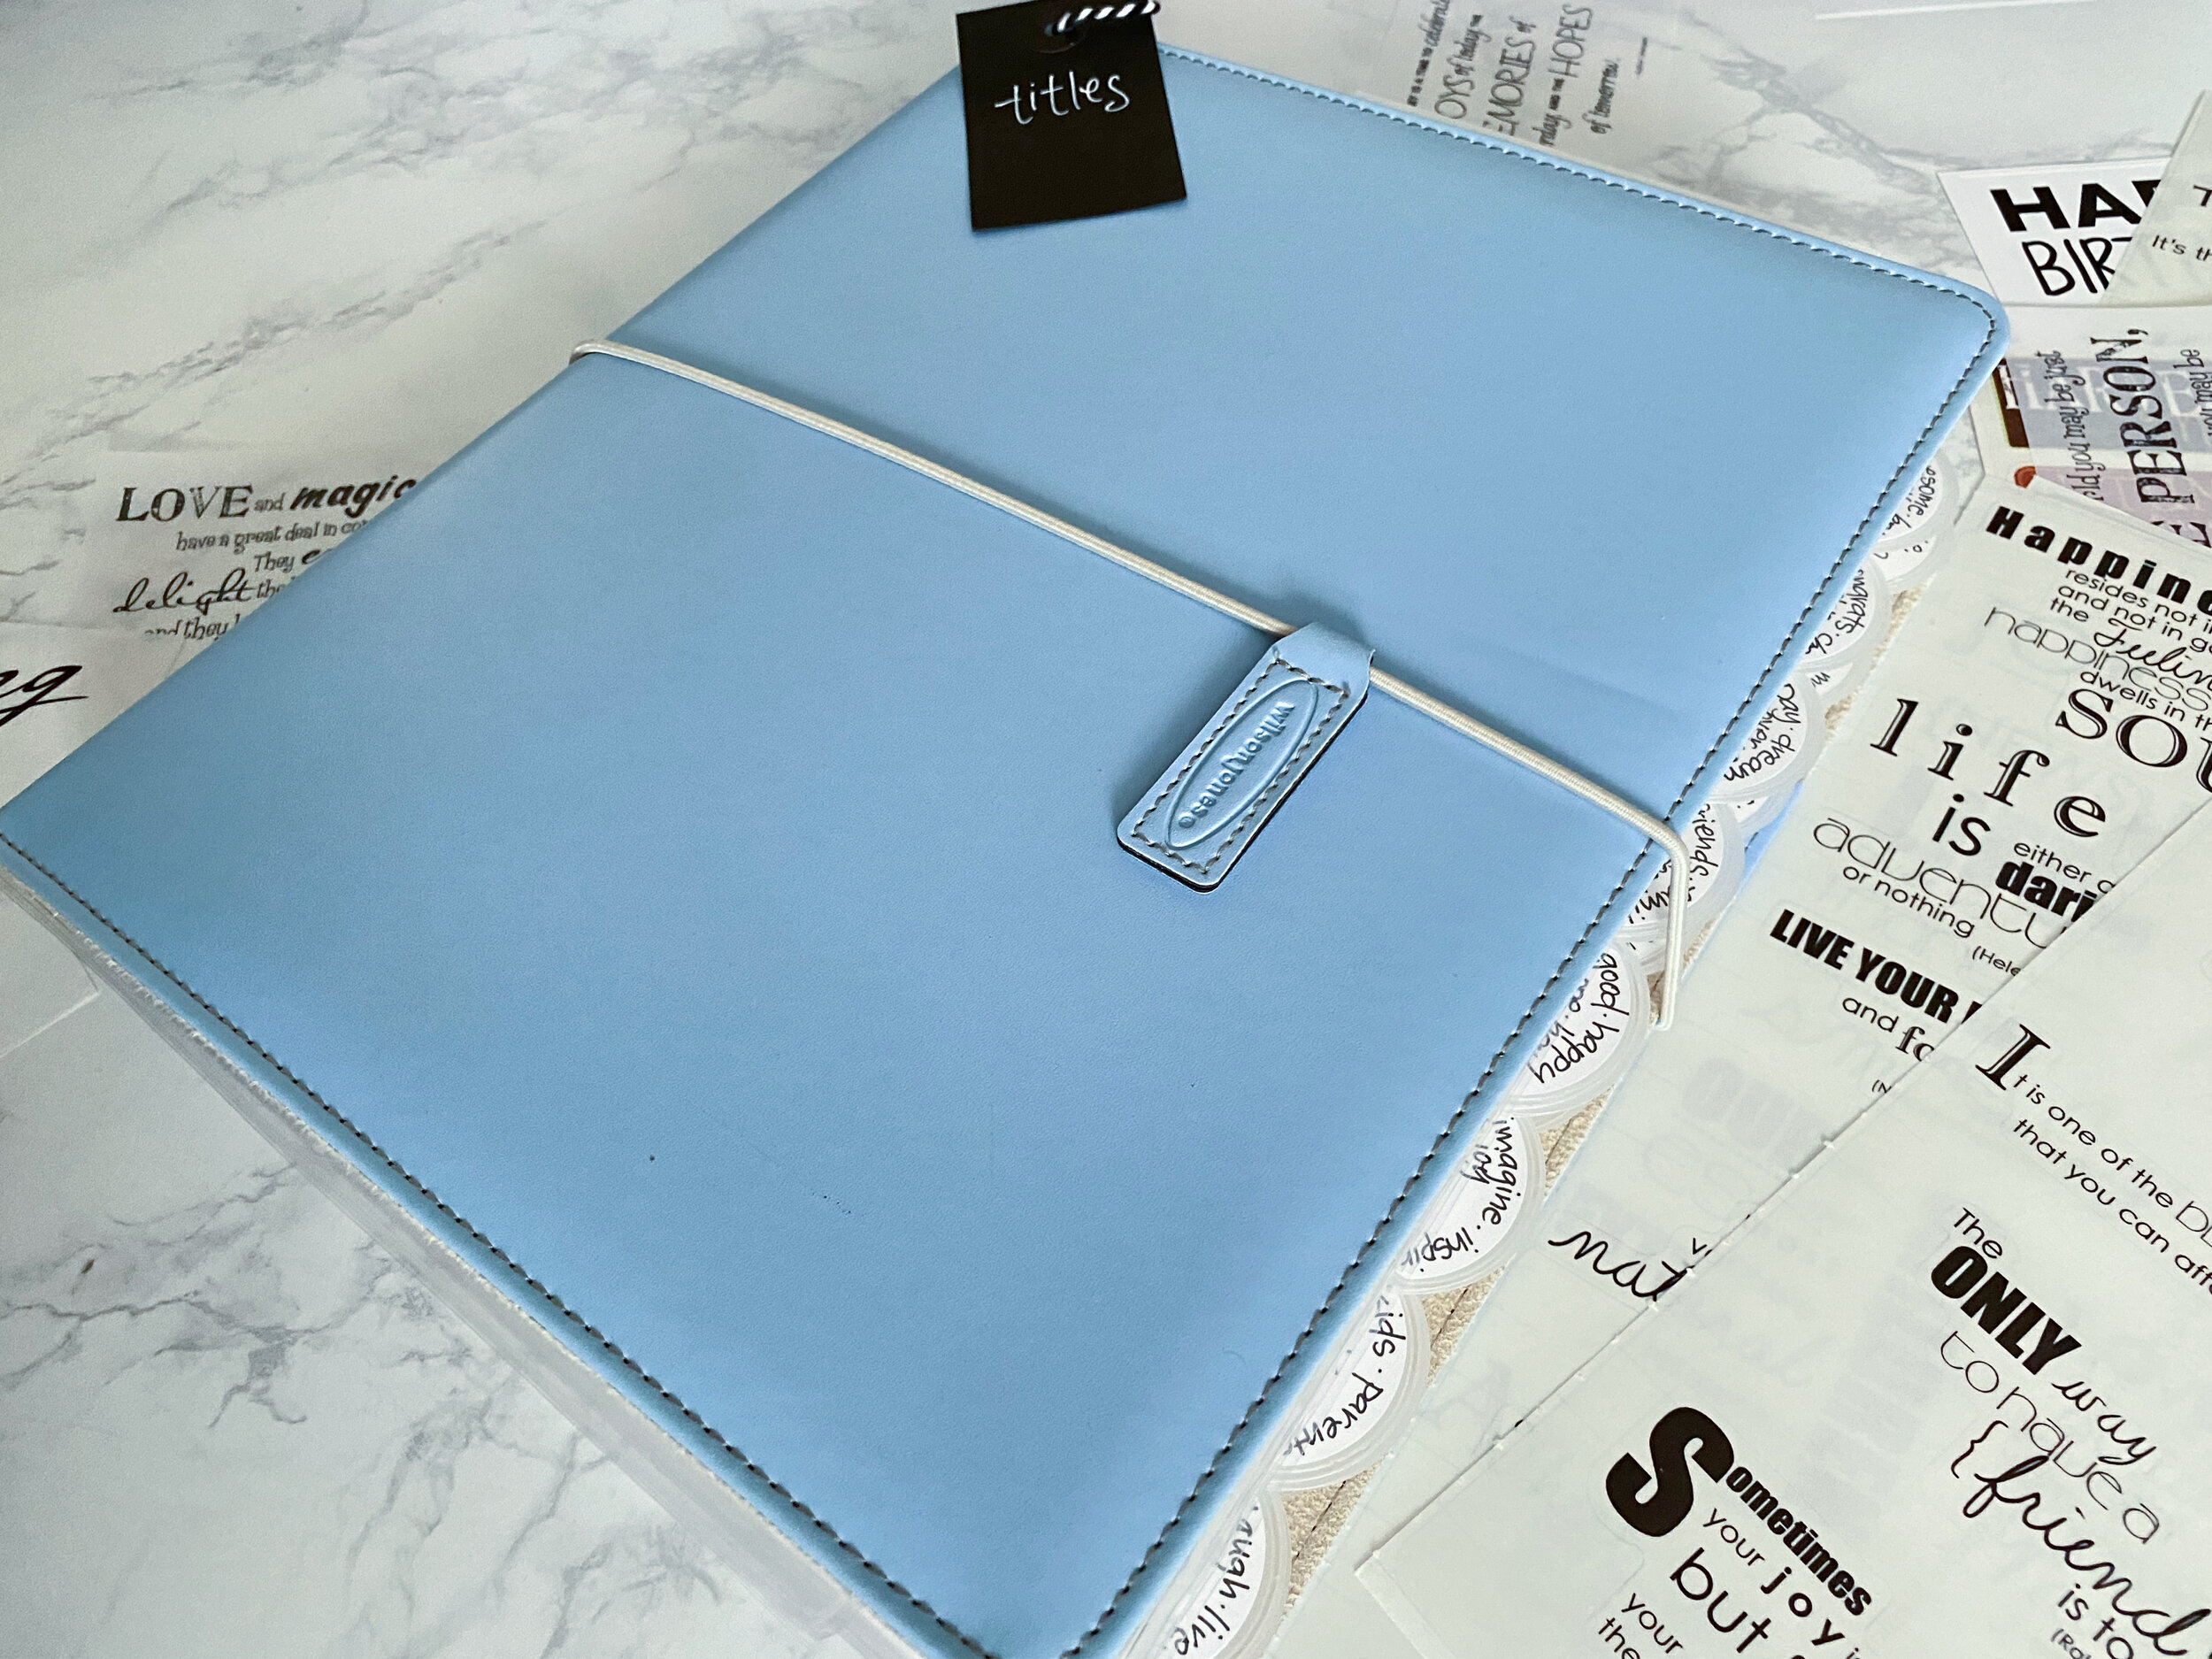
1) First you will need to find a binder you love, that has at least a 1 inch ring size in it. Since the blue Wilson Jones binders you see in my craft room are no longer available, I found another favorite you can find here. It is flexible, durable, and I love that it has a customizable front window.
2) You will also need a good quality sticker backing paper. The one I found that is of exceptional quality can be found here. It is a bit of investment, but the good news is that you can use these pages over and over! You can also DIY your own pages using wax paper and adhesive.
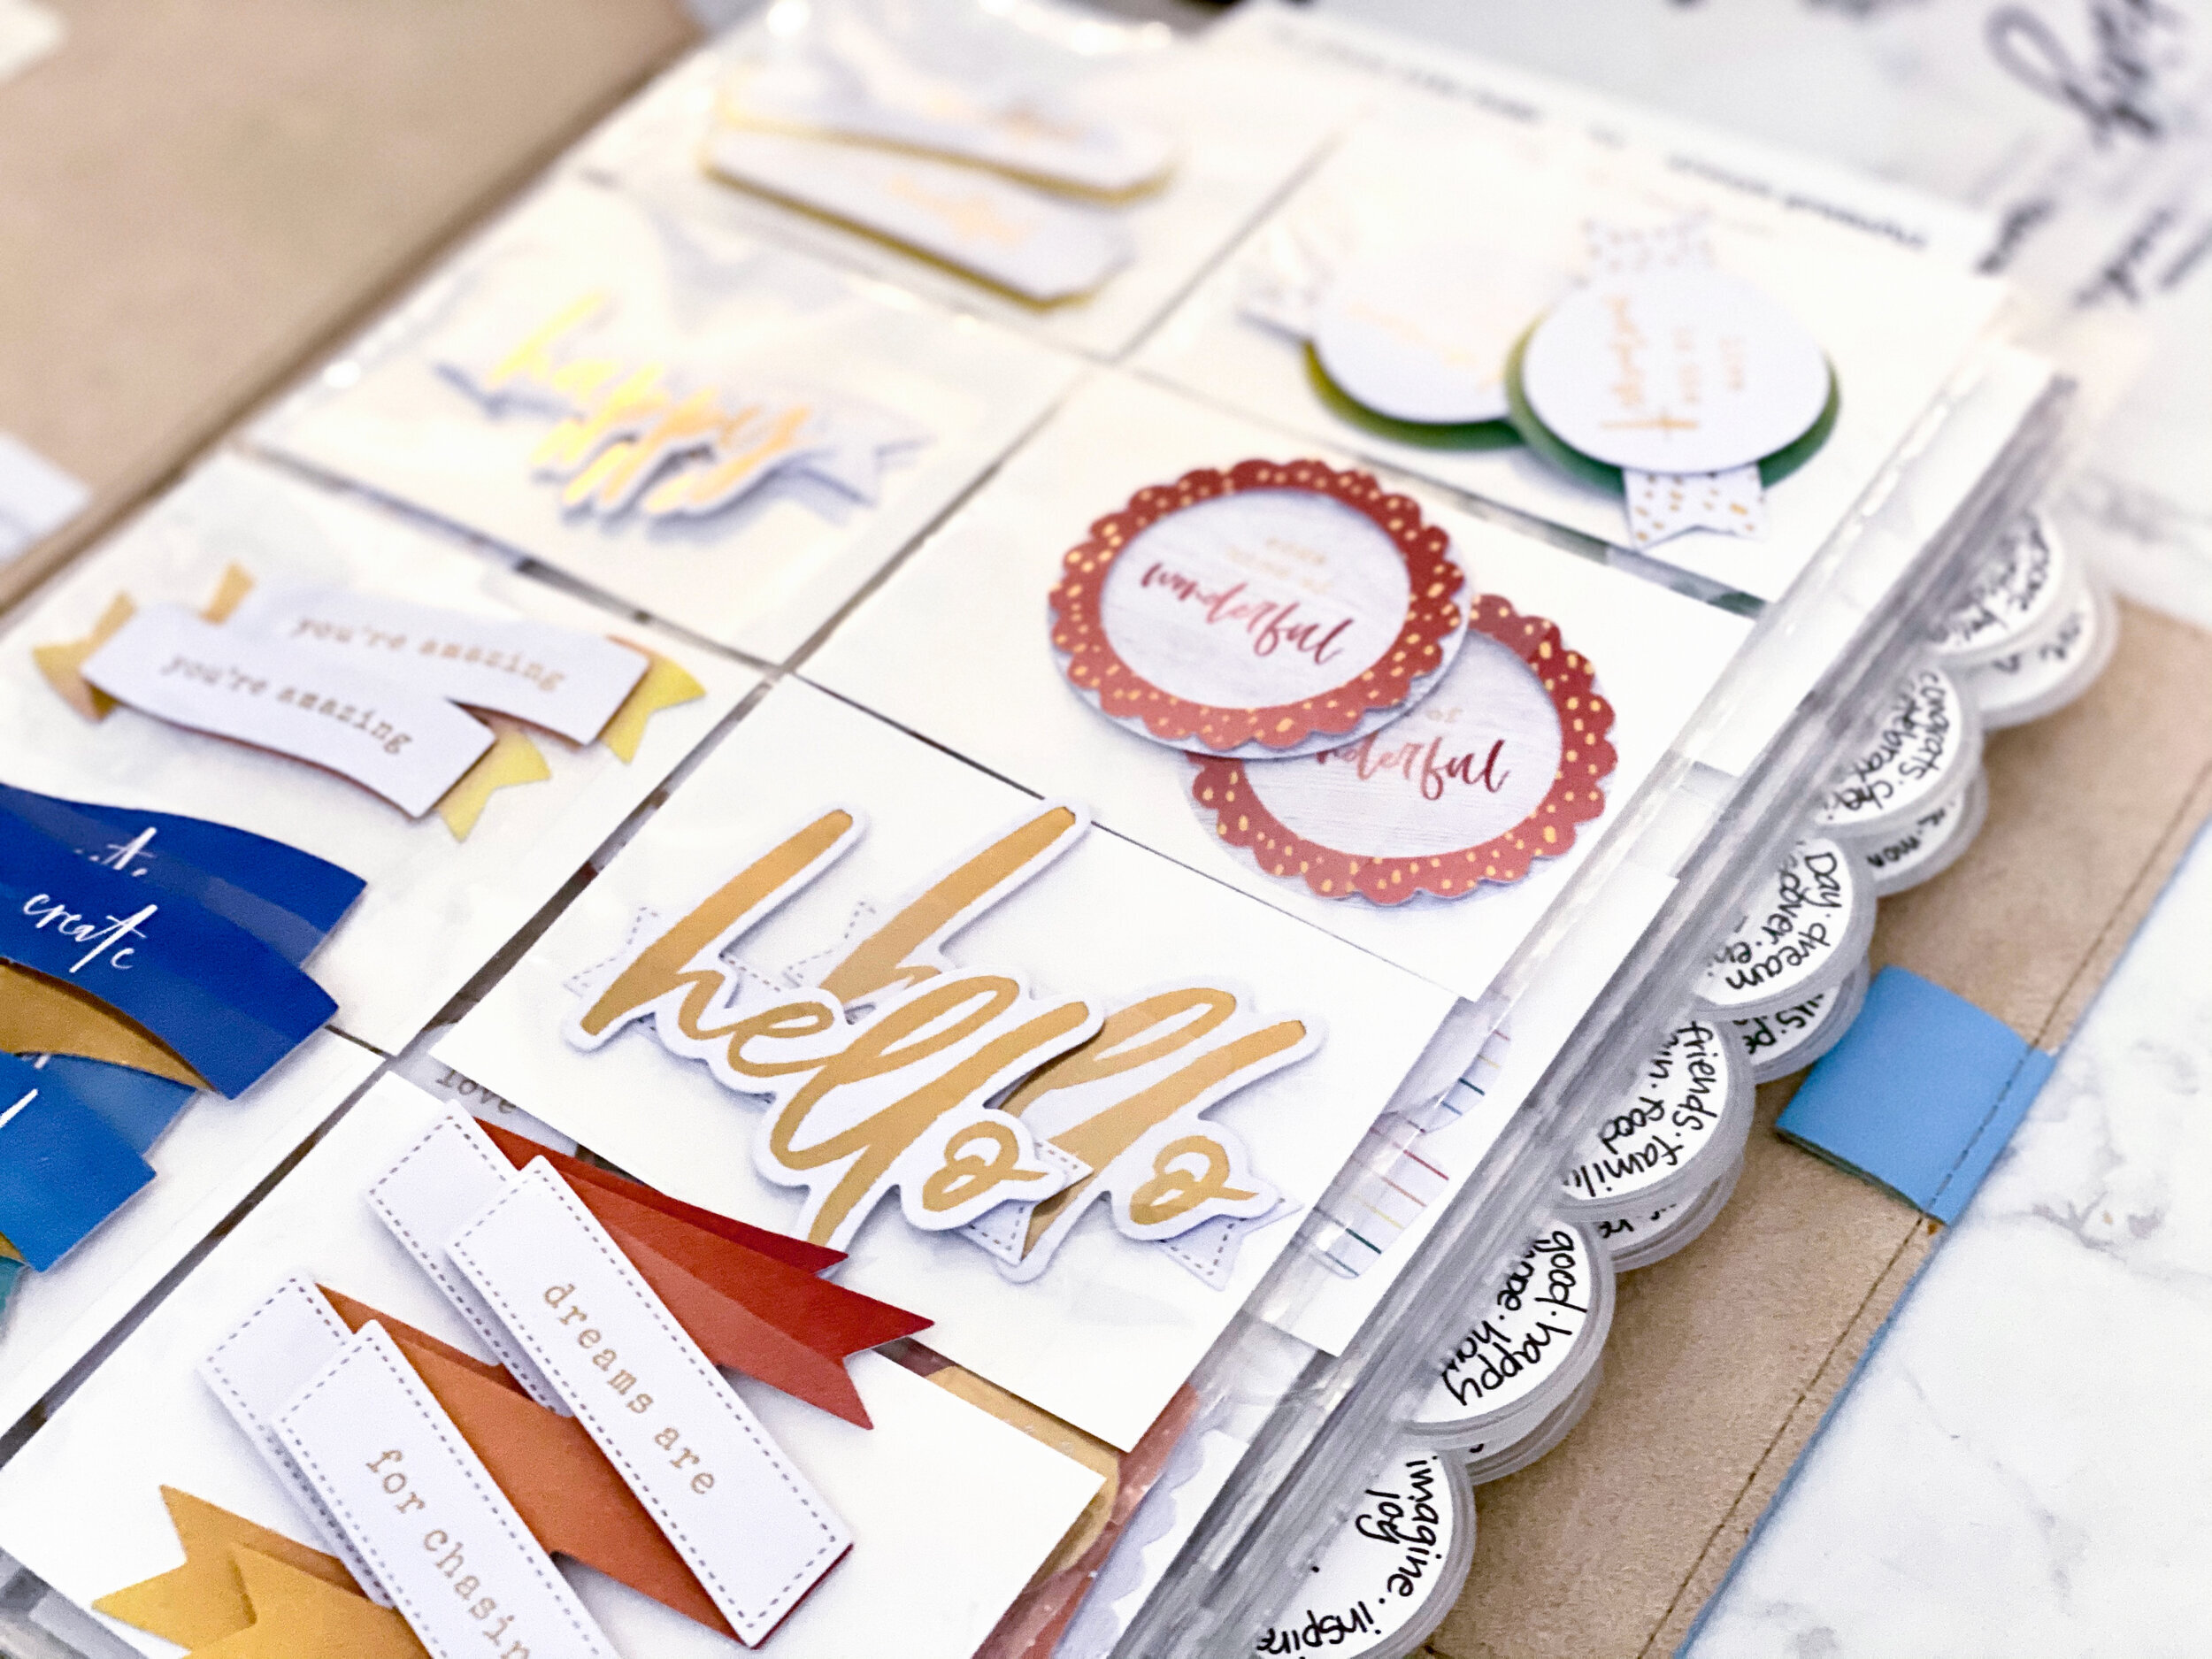
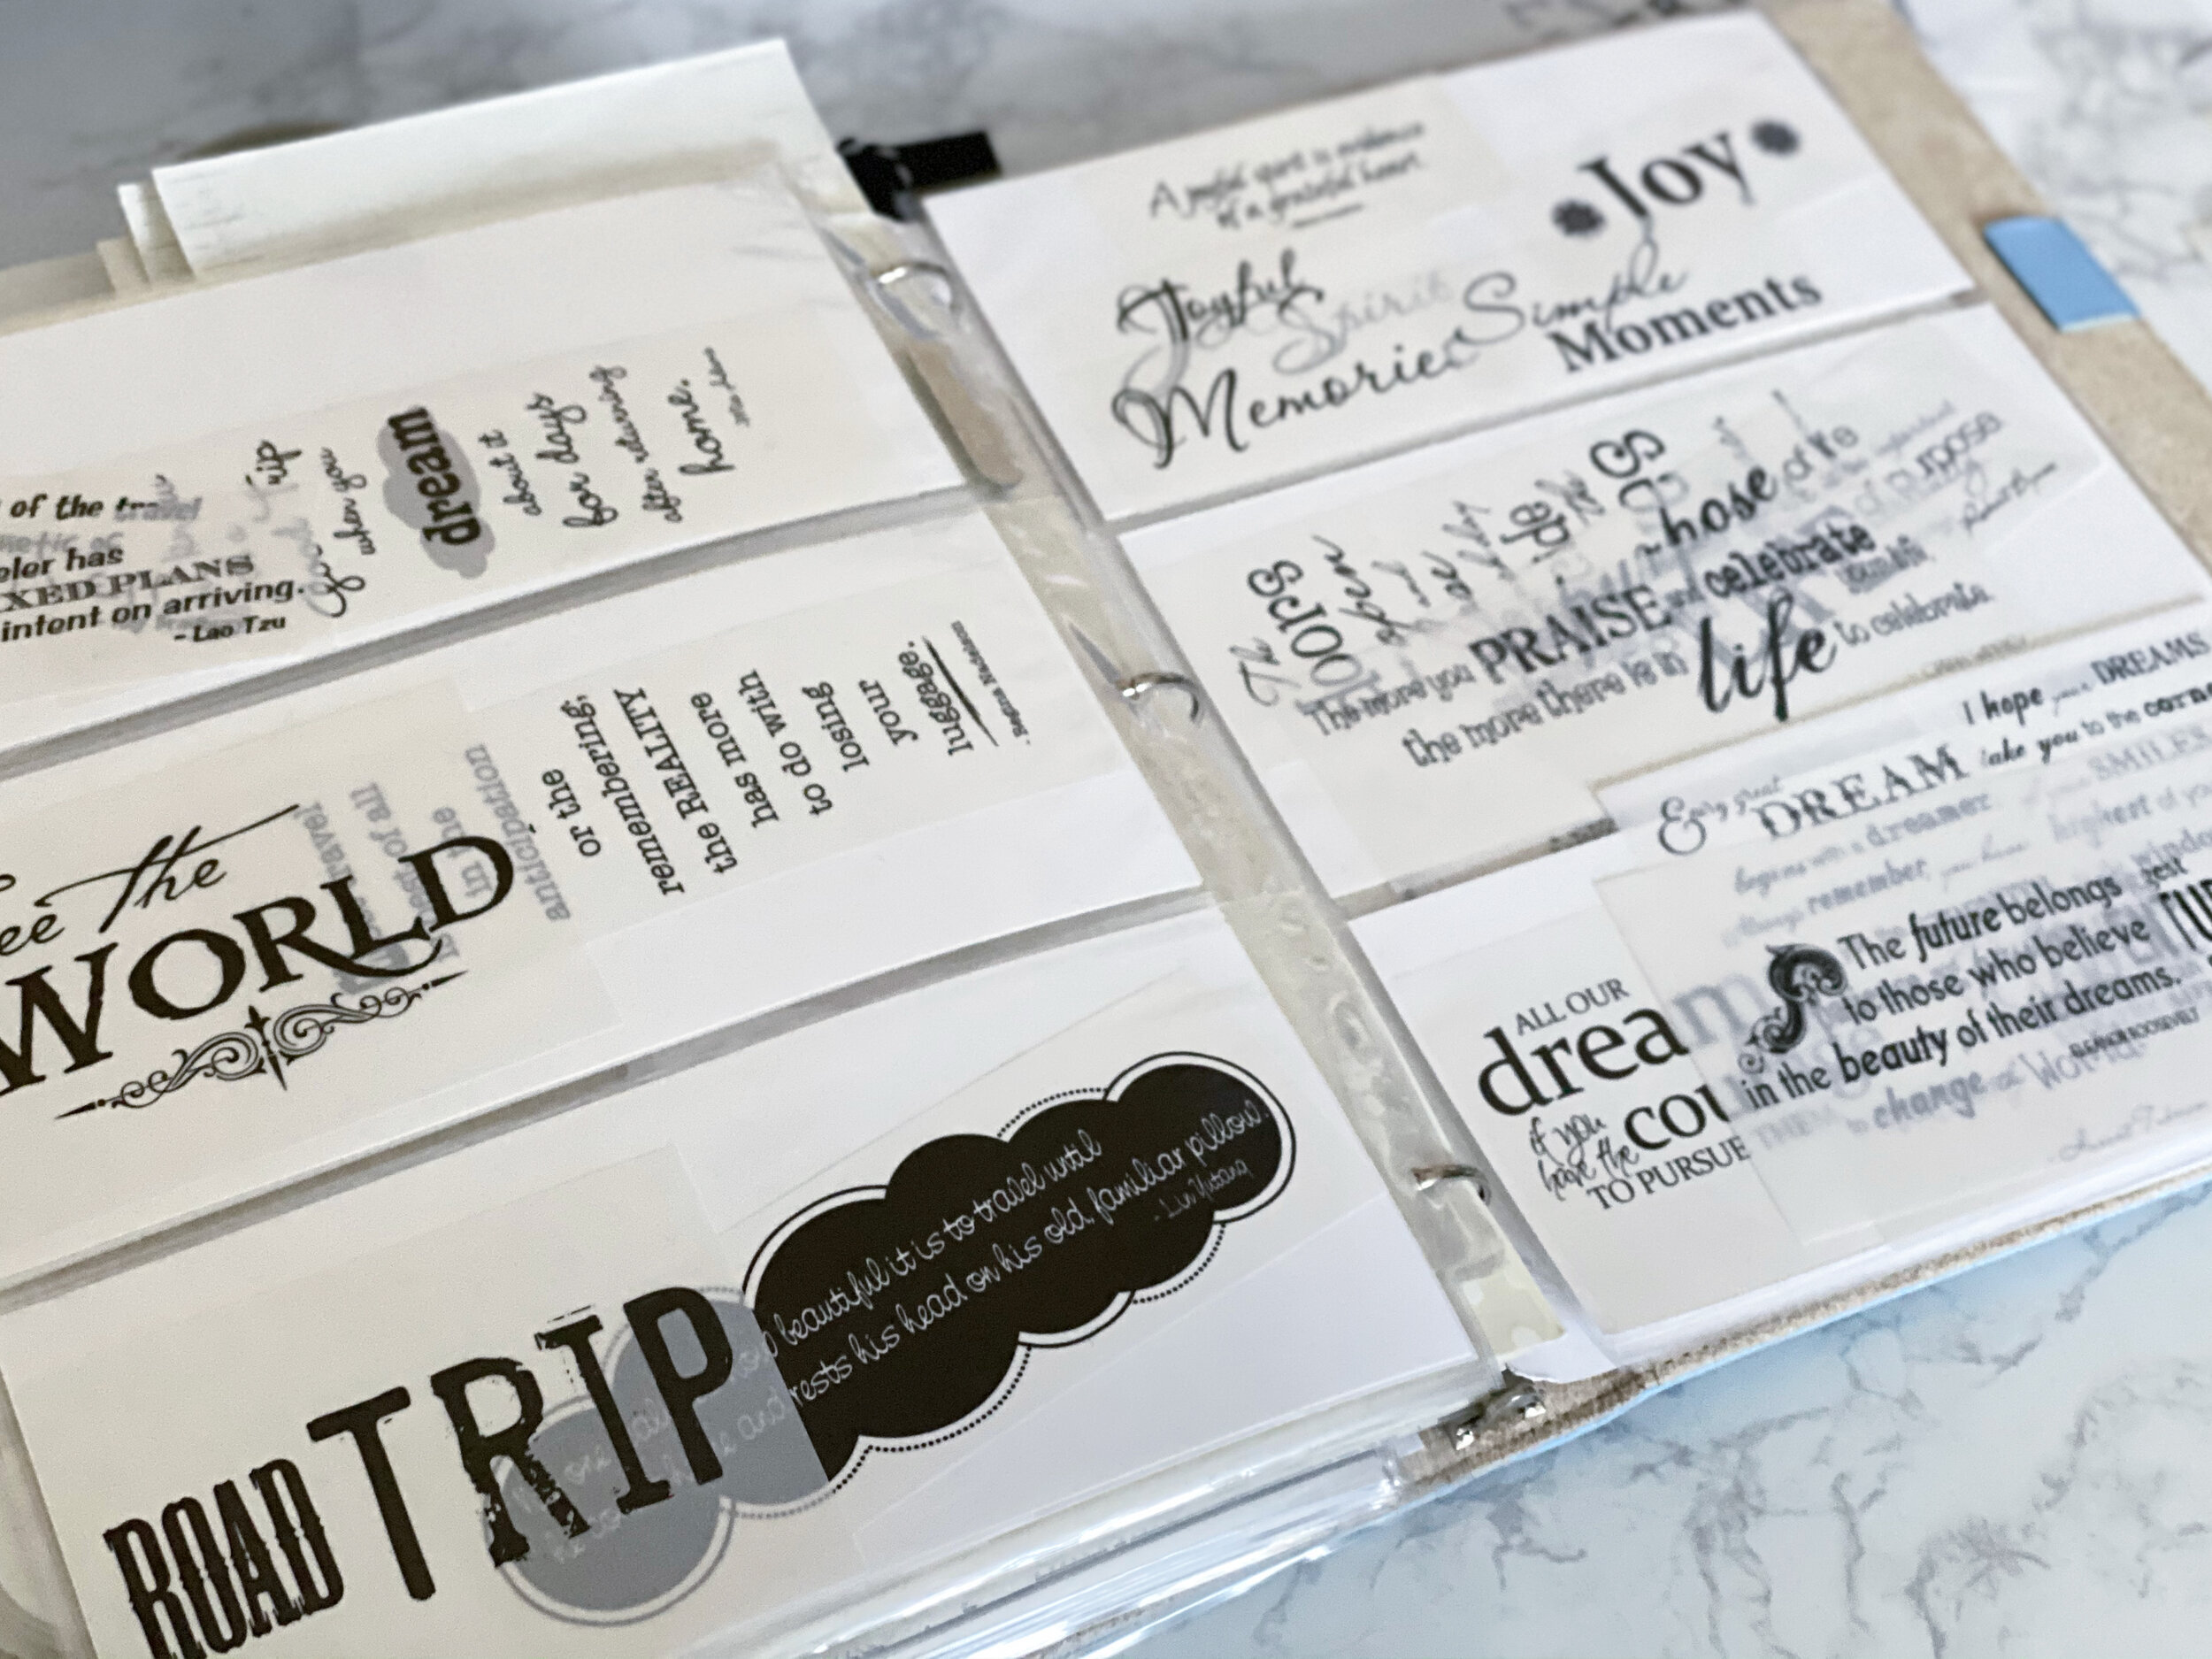
3) Invest in a pack or two of coupon organizers, and create more “pockets” by cutting cardstock to fit each slot. This allows you to use the front and the back of each pocket! These are the perfect solution for storing layered titles, laser cut words, vellum quotes, and any kind of a title that does not have a sticky backing.
now the fun part!
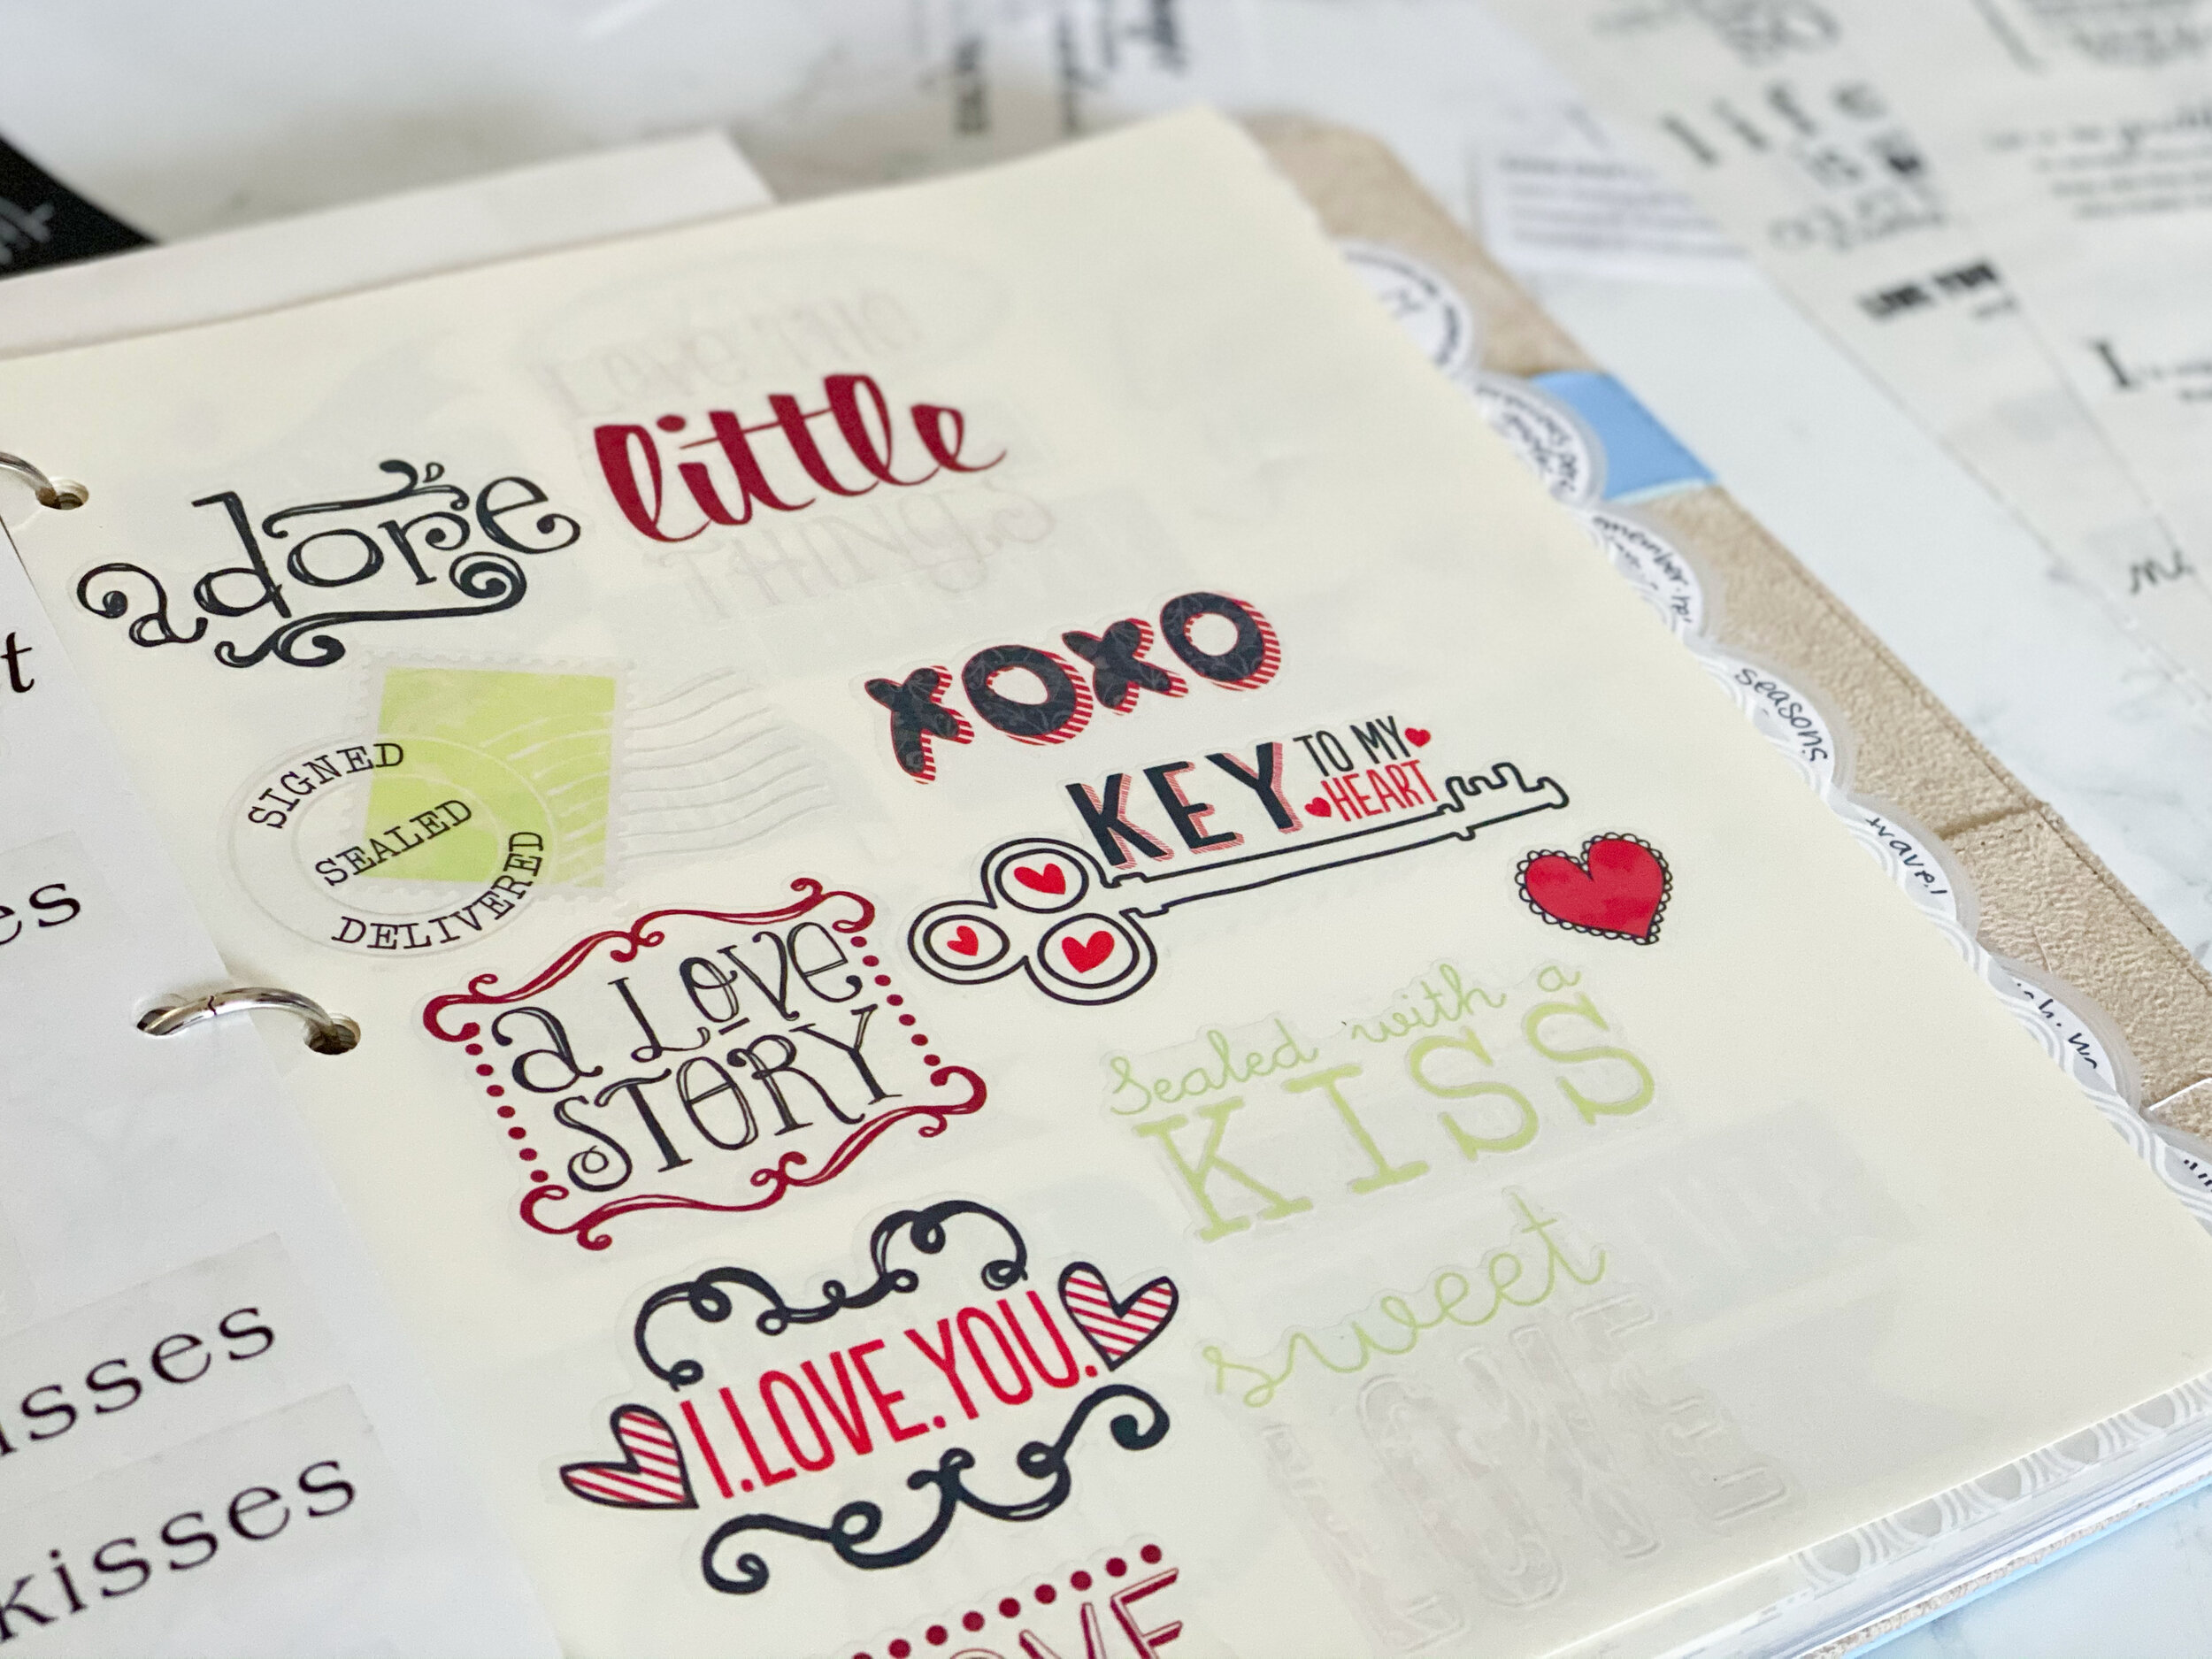
5) Dig out all your title stickers, layered word stickers, laser cut titles, and vellum quotes. Yep, all of them, wherever they are hiding. I found some of mine stashed with my old CM palettes, some in drawers, and some in my seasonal folders. And even now I sometimes come across more titles among my stash, but the good news is that now I know exactly where to put them.
6) Create categories. You will need a couple sets of 8-cut tabs to create your categories for your binder. The ones I used for my binder can be found here. Then, make your labels! You may want to combine some similar ideas together, and I have created a list of categories to get you started. You can print out a copy for yourself here.

Title sticker categories:
A/B
• Awesome,
• Believe, Blessings, Be type statements (Be kind, Be humble, Be strong)
• Birthday (Party, Surprise)
C
• Cherish, Cuddle
•Congratulations, Celebrate, Cheers, (Party Time, Hooray, Surprise)
D/E
• Day, Dance, Dream, Discover • Enjoy
F
• Friends, Friendship, Fun, Food
• Family (Brothers, sisters, mom, dad, grandpa, cousin, any quote sentiment stickers about family)
• Faith (Rejoice, Praise, God, Grace)
G/H
• Good, Great
• Happiness, Hope, Happy, Hero, Heartfelt
• Home (nest), Heritage
I/J
•Inspire, Imagine, Inspiration
•Joy
K
• Kindness
•Kids (baby, children, growing up)
L
• Laugh, Live, Life
Love
• Love themes (hugs, kisses, heart, together, anniversary, couple)
M
• Memories, Moments
P/Q
• Play, Perfect, Precious
• Quotes (longer sentiments)
R/S
• Reflect, Remember, Relax • Smile, Score, Sweet, Stars
Seasons
• Spring
• Summer
• Winter (Christmas)
• Autumn/Fall (Thanksgiving, Grateful)
T
• Travel (vacation, wander, outdoors, getaway, paradise, beach)
U-Z
• Understanding
• Wish, Wonder, Wisdom
• Yay
Vellum Titles
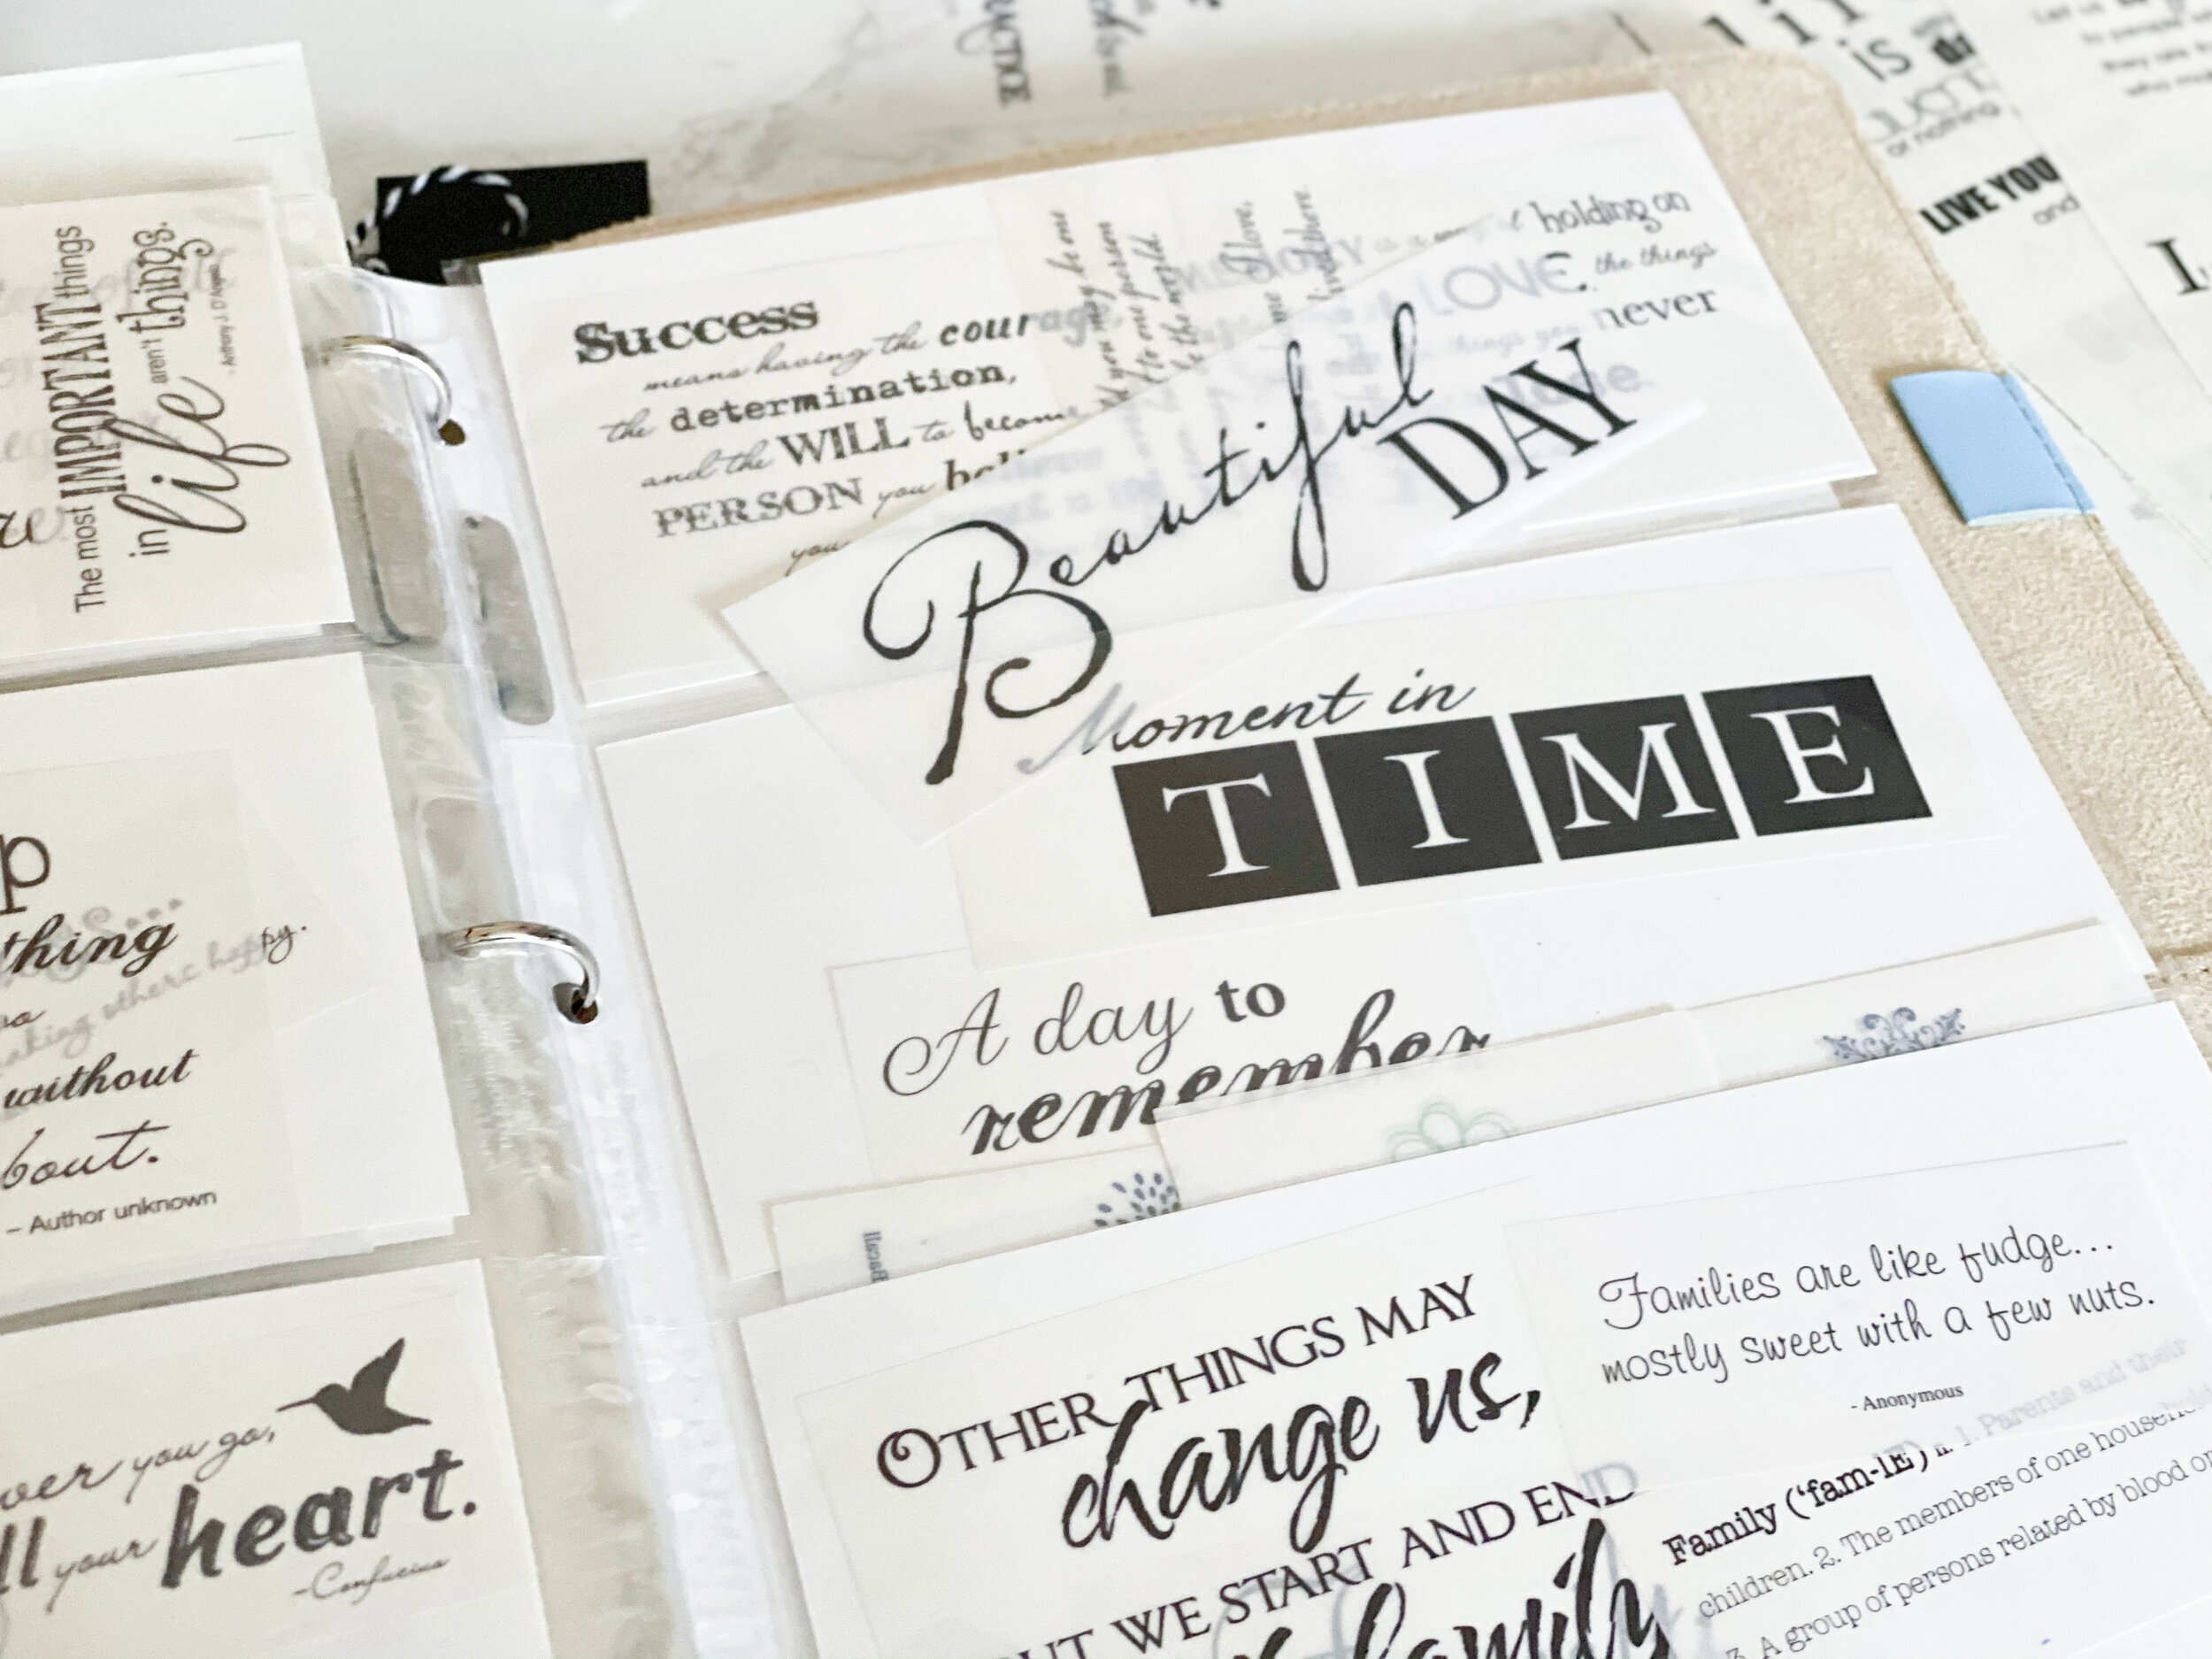
5) Use your coupon organizer sleeves for anything that does not have a sticker backing. They come in a variety of shapes and sizes to make it easy to find the perfect home for your titles. You can slide the same or similar words in the same pocket, as well as similar vellum titles in the same pocket. Organize the way that makes sense to you, and how you think you would look for a title.
enjoy the process
As always, make this process your own, and organize the way that makes sense to you! There is a bit of investment in time and materials to get started, but you will be glad you took your organization to the next level. I had so much fun re-discovering all the fun stickers I had and I am using them now more than ever for my scrapbook pages, cards and DIY projects. I can find just the sticker I need, within moments by keeping this binder handy in my craft room.
I hope you give it a try!