
How to Turn Any Paper Pack into a Birthday Celebration: Custom Embellishments Made Easy

If you're like me, you've probably found a paper pack you love—but it’s not exactly birthday-themed. The good news? You can easily turn ANY paper collection into a birthday celebration with a little creativity and a few basic tools from your scrapbooking stash.
In my latest YouTube video, I walk you through a fun and easy technique to create custom scrapbook embellishments using coloring techniques. This is a perfect opportunity to bring out your Creative Memories pen sets—and if you want the perfect set of dual & dot tip pens, you can find a great deal in my shop! And don’t forget the CM Metallic or Glitter pens to add that extra sparkle and shine to your embellishments.

Why Customize Your Embellishments?
Let’s face it—most paper packs aren’t created with birthdays in mind. And even when they are, sometimes the theme, colors, or icons don’t match the look you’re going for. Creating your own custom embellishments gives you the freedom to match your papers to your photos, your party theme, and your own creative vision.
Instead of buying a completely new collection, you can adapt what you already have using simple tools—starting with the embellishments you already own. This is especially great when you're short on time, working with a limited stash, or simply want a more personalized approach.
What You'll Need
Here are the tools and supplies I used (or recommend) to get started:
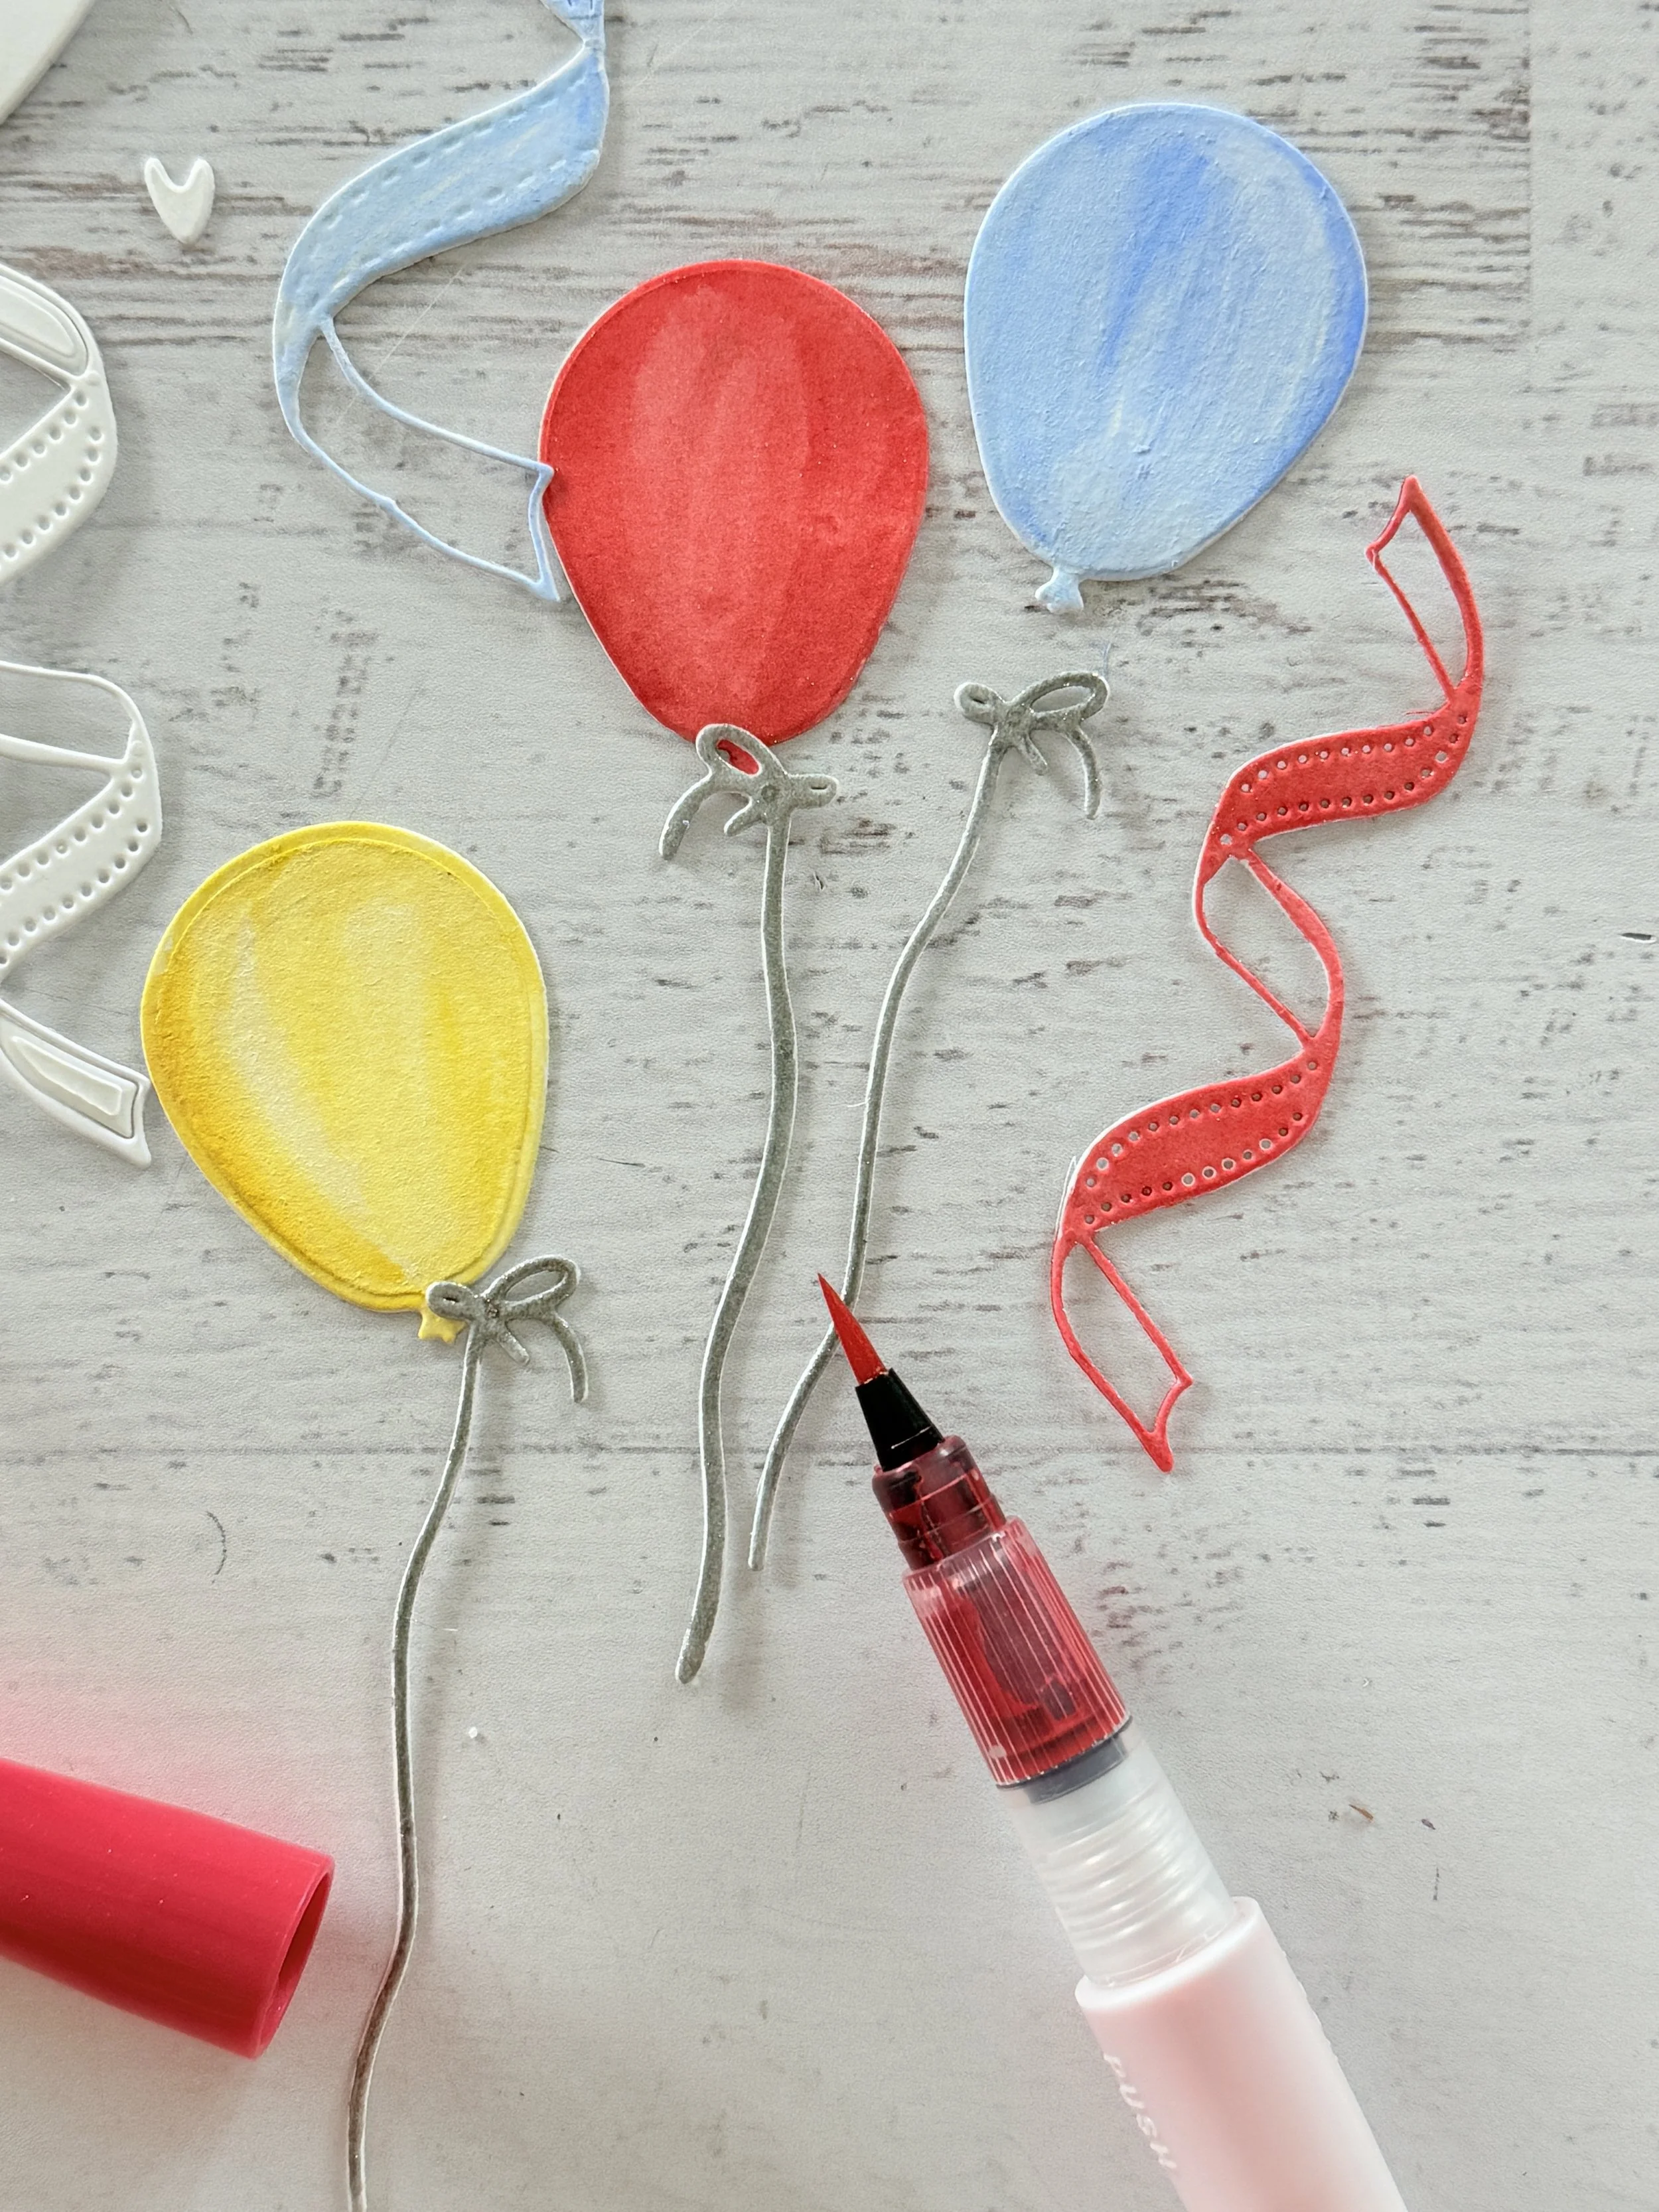
Blank (white) embellishments: Choose icons that can be colored in—like stars, balloons, cakes, or streamers.
Creative Memories Pen Sets: These versatile pens are perfect for adding vibrant color. If you haven’t picked up a set yet, I have some deals available in my shop right now.
Creative Memories Glitter Pen: One of my favorite tools for adding a subtle sparkle to embellishments, this pen gives your handmade accents that little something extra.
Creative Memories Metallic Dot tip pens: A colorful way to add even more shine to your embellishments.
Blending tools or water-brush pens: Great for soft transitions and custom tones.
Scissors, foam squares, or foam tape: For layering and dimension.
How to Customize: Step-by-Step
Start with a Simple Shape
Choose embellishments that offer a blank canvas—like white cardstock icons, plain die-cuts, or printed elements in grayscale. These are ideal for coloring. The die cut balloons, streamers and candles in my shop are some of my favorites.Match Your Colors to Your Paper Pack
Identify the key tones from your background papers, then use your pen sets to color in the embellishments to coordinate. You can keep it simple with solids or get fancy with blending, shading, and layered color. Use your shimmer pens or this watercolor pen to give a blended effect.Add a Pop of Sparkle
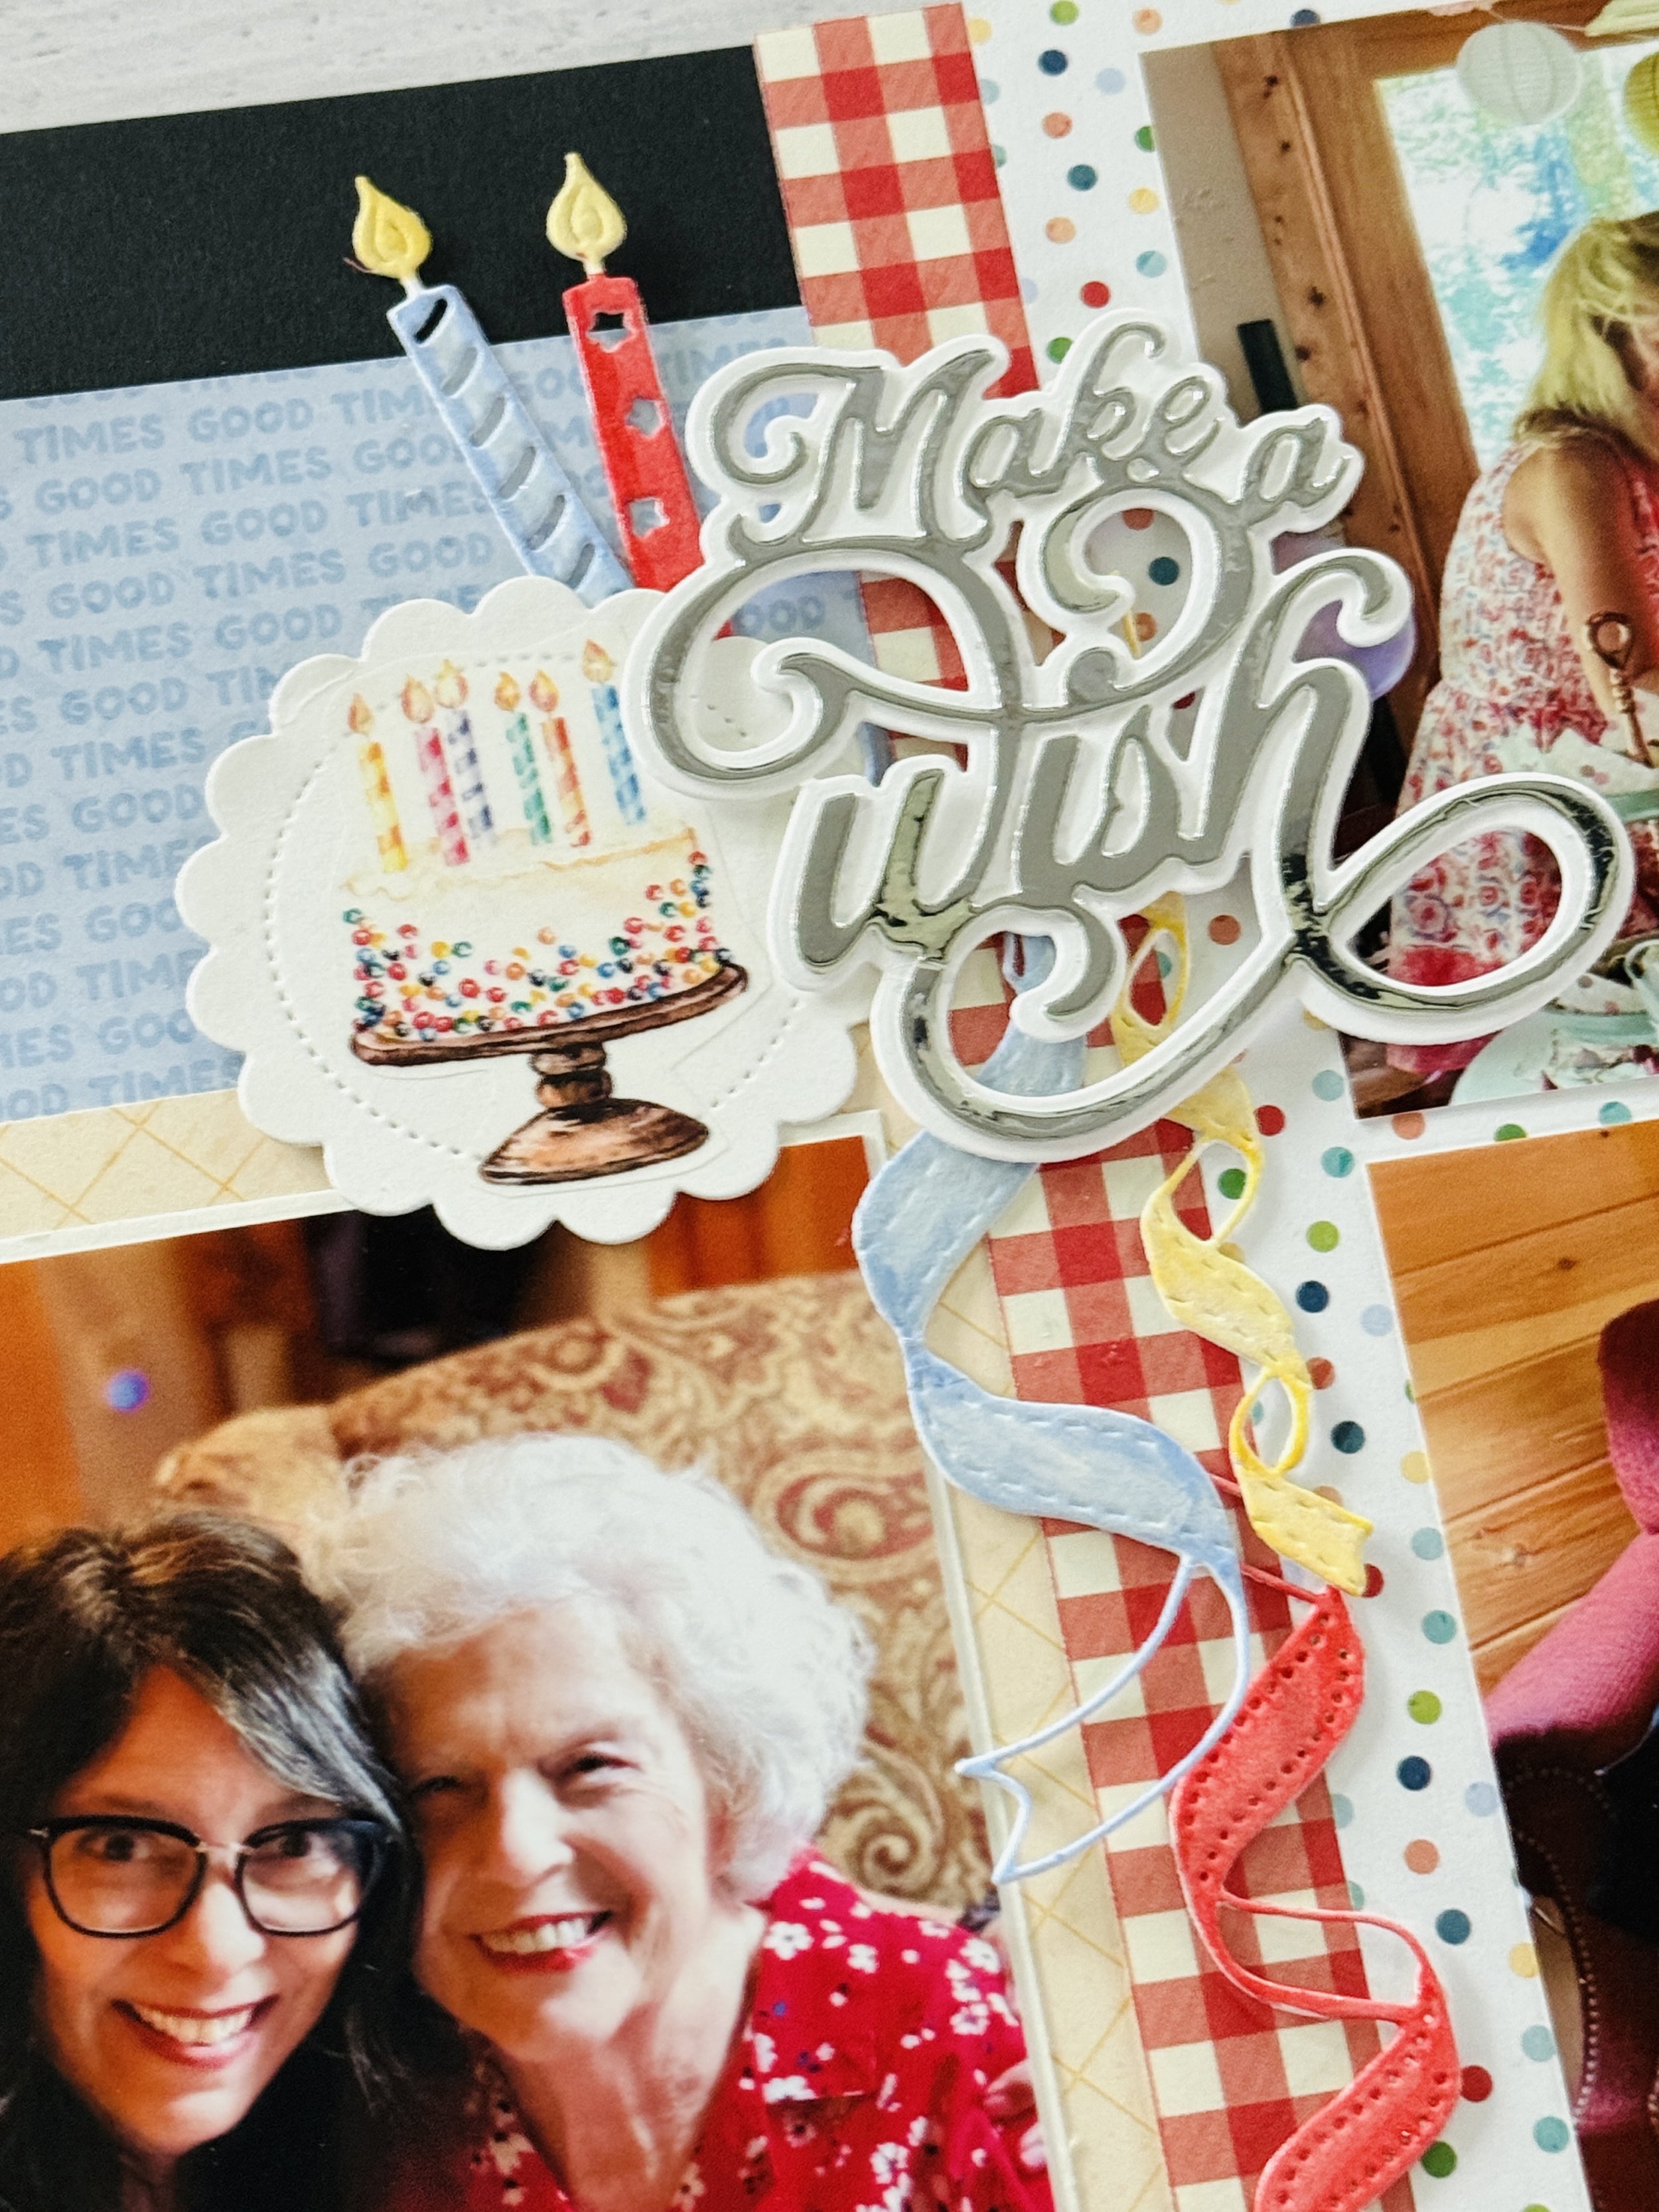
Once colored, outline or accent with your glitter pen. You might trace the edges of a balloon, add shimmer to a candle flame, or highlight the lettering in a sentiment.Layer and Mount
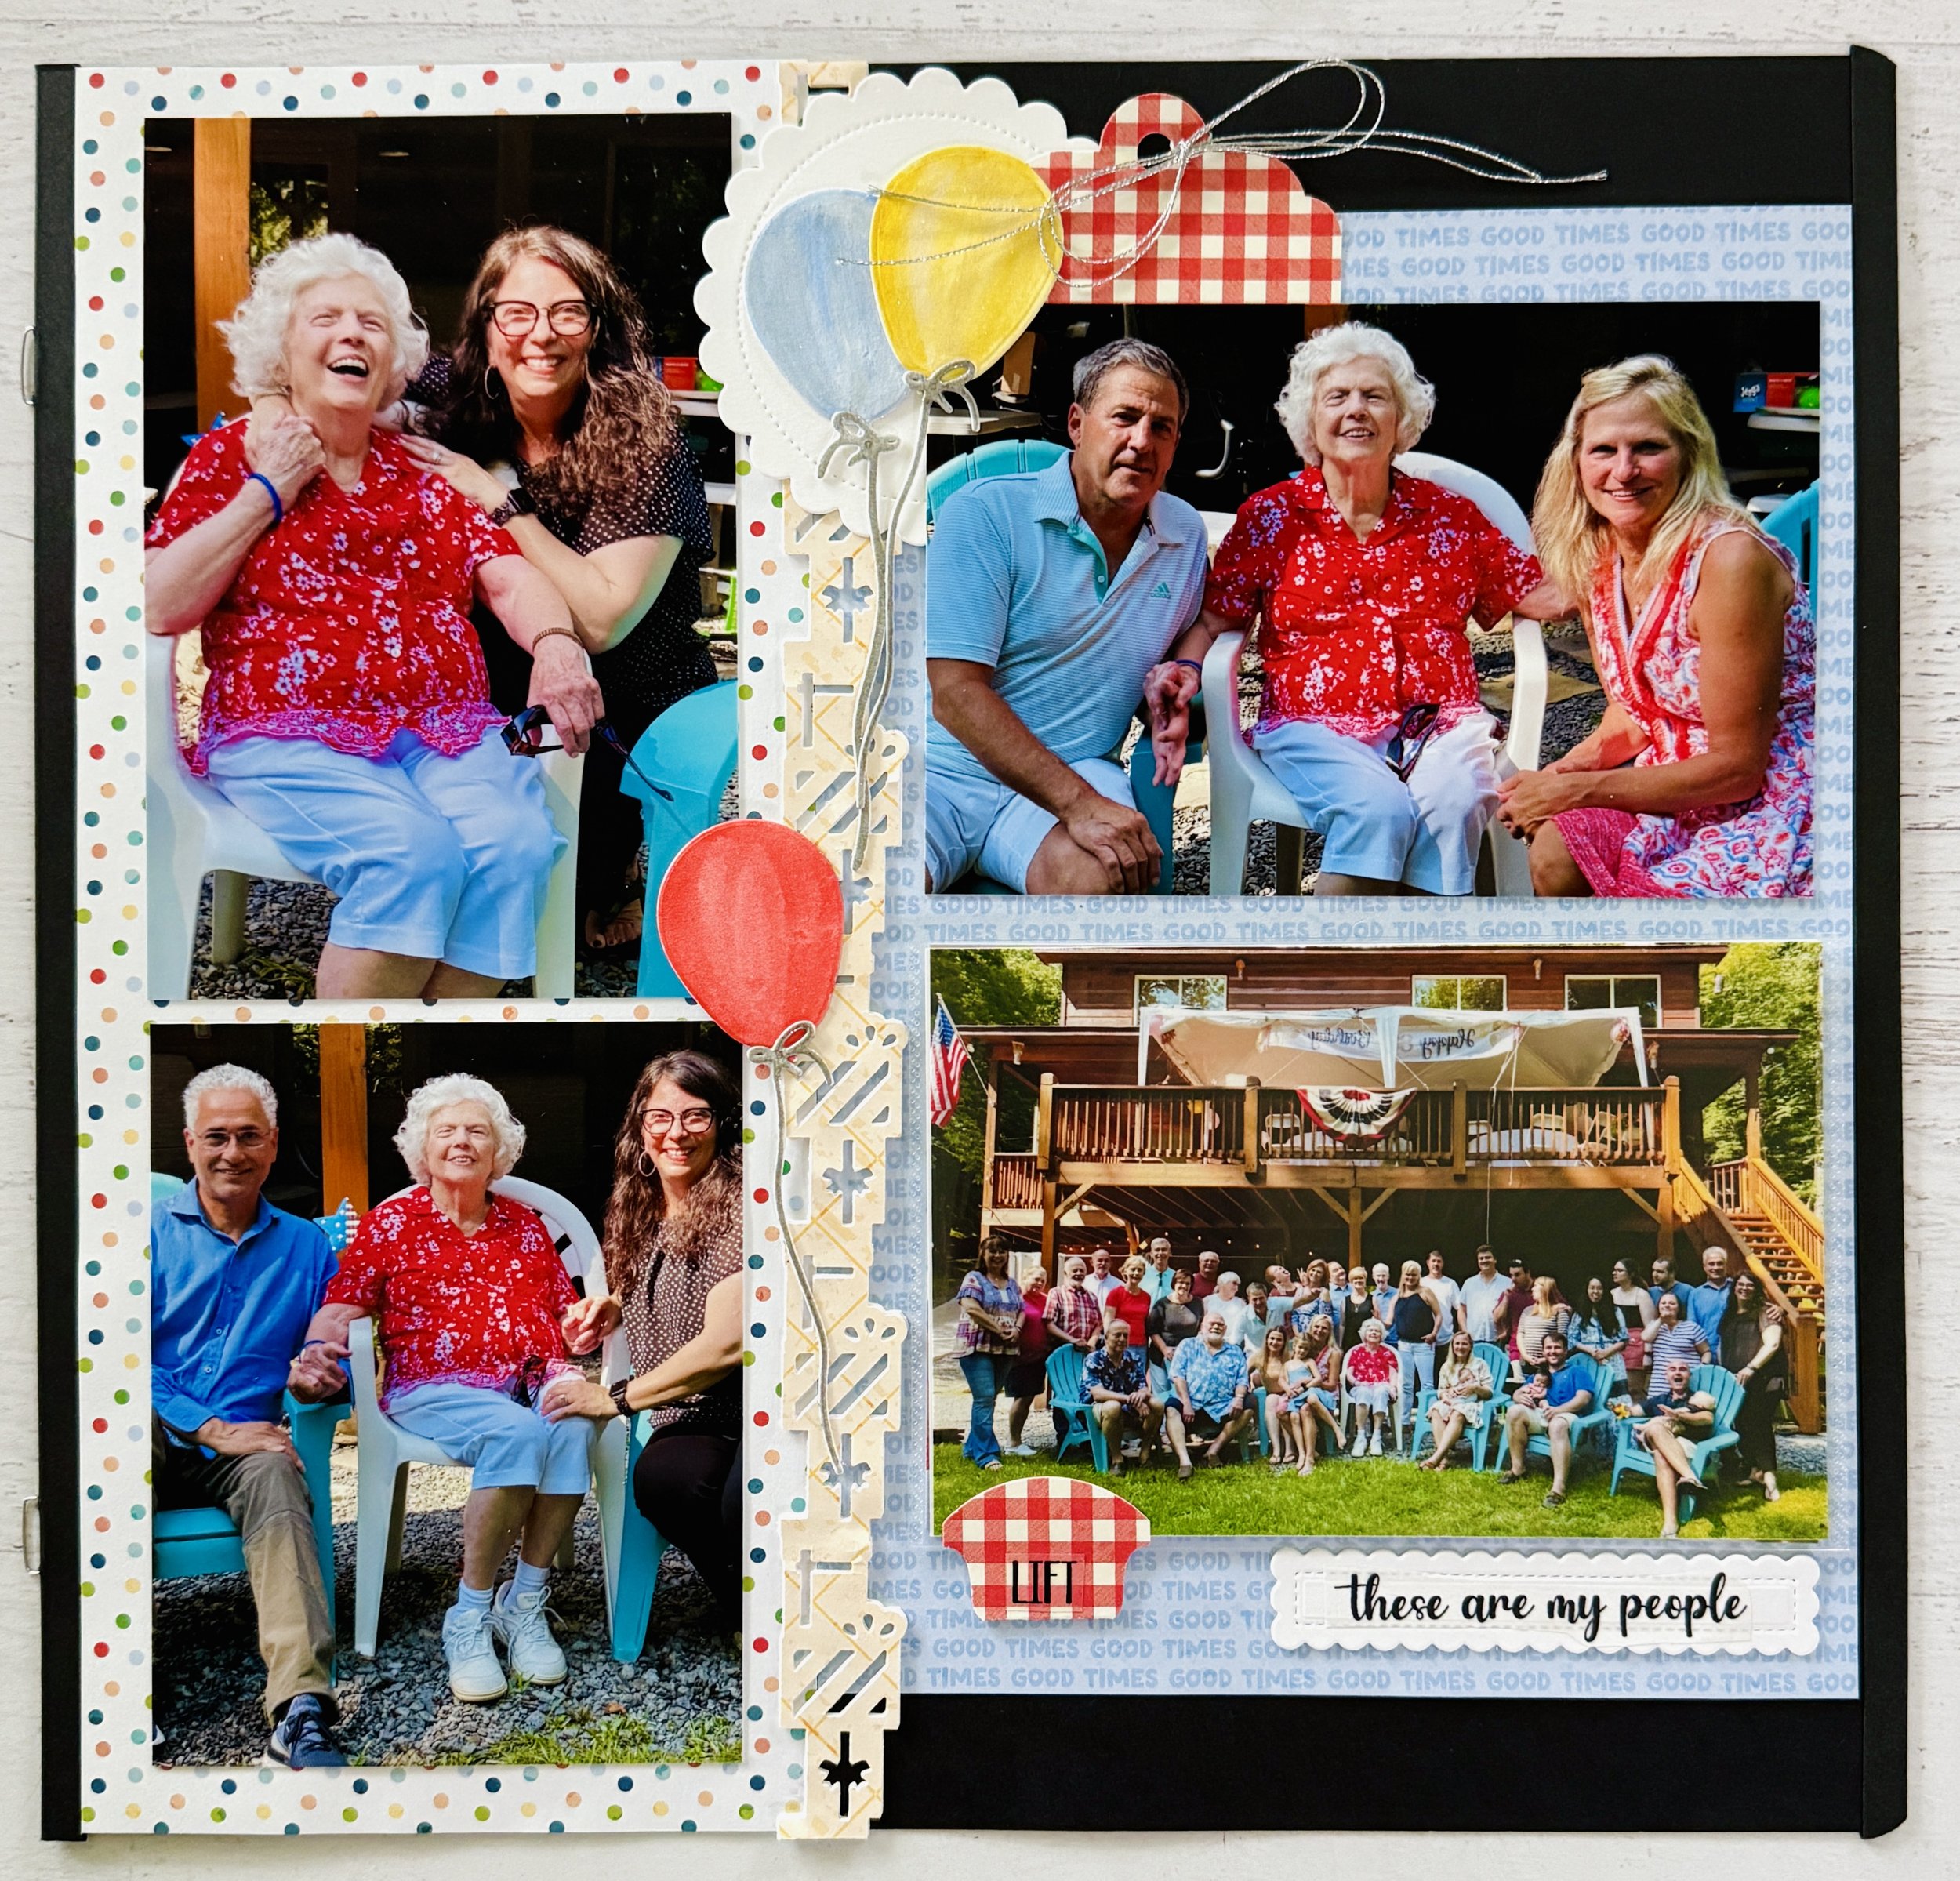
Add foam adhesive behind your embellishments to create depth and texture on your layout. My favorite foam squares can be found here - it adds just the perfect amount of lift but does not make your pages too bulky. You can even double-layer embellishments—like placing a banner over a circle or a number on top of a tag—for more impact.Repeat and Mix It Up
Make several variations in different color combos and styles. Having a little stash of ready-to-go embellishments makes the next birthday page even easier.
This technique is perfect for customizing scrapbook pages, handmade cards, and even party decor. You can create embellishments that match any birthday theme—bold and bright for kids or soft and elegant for adults.
Bonus Tip: Create a Birthday Embellishment Kit
Grab one of my favorite organizer boxes from Stamp-N-Storage/Taylored Expressions and label it just for birthday-themed embellishments. Pre-make and store a variety of “blank” icons, titles, and tags so you're always ready to celebrate. You can use your punches to make even more variety.
Ready to Get Started?
This is a great time to revisit your stash, look through your Creative Memories embellishment packs, and grab those pen sets. With a little creativity and a splash of color, you'll be amazed at how easy it is to craft festive, personalized pages for any birthday occasion.
And remember—your Creative Memories pen sets and glitter pen aren't just tools, they're your secret weapon for turning ordinary supplies into something spectacular. If you're looking for a good deal on these, check out my shop for current promotions.
I hope this inspires you to dig into your supplies and start customizing! Let me know what you create—share your layouts and tag me so I can see and cheer you on.
Click here to watch the full video on YouTube: How to Create Custom Birthday Embellishments & Test the Sketch!

Happy creating my friends!

Need supplies to try out this fun way to add customized elements to your layouts?
I would LOVE to be your Creative Memories Advisor, and be the scrapbook store near you - in fact right in your living room! Remember if you shop with me on the Creative Memories Website, you can be part of my rewards program and earn 5% back on your qualifying purchases, or earn FREE gifts when you shop my in-stock inventory on my personal website.