
Disc Bound ORGANIZERS for your Craft Room!

Have you ever had that feeling that you could be so much more productive if you could just find a way to organize your thoughts, ideas, and inspiration? I certainly have struggled with how to keep all my projects and crafts organized! I recently decided to get a handle on it and found a great resource with Sea Lemon’s videos on disc bound organizers. It was that feeling—you know it—when the light bulb goes off and all the ideas start popping into your head of what you can do and make, and the pieces pop into place.
I wanted to try using the large 8.5” x 11” size, and decided to create an organizer for my youTube channel, another one for my website and blog, and then I spent some time thinking about how I could use this style of organizer to help with crafts and my craft projects. I did a little shopping to get started to find the discs, and some fun things to create my DIY covers. Then it was just some fun DIY time creating all the notebooks! If you would like a closer look at all the notebooks I created, check out my video here.

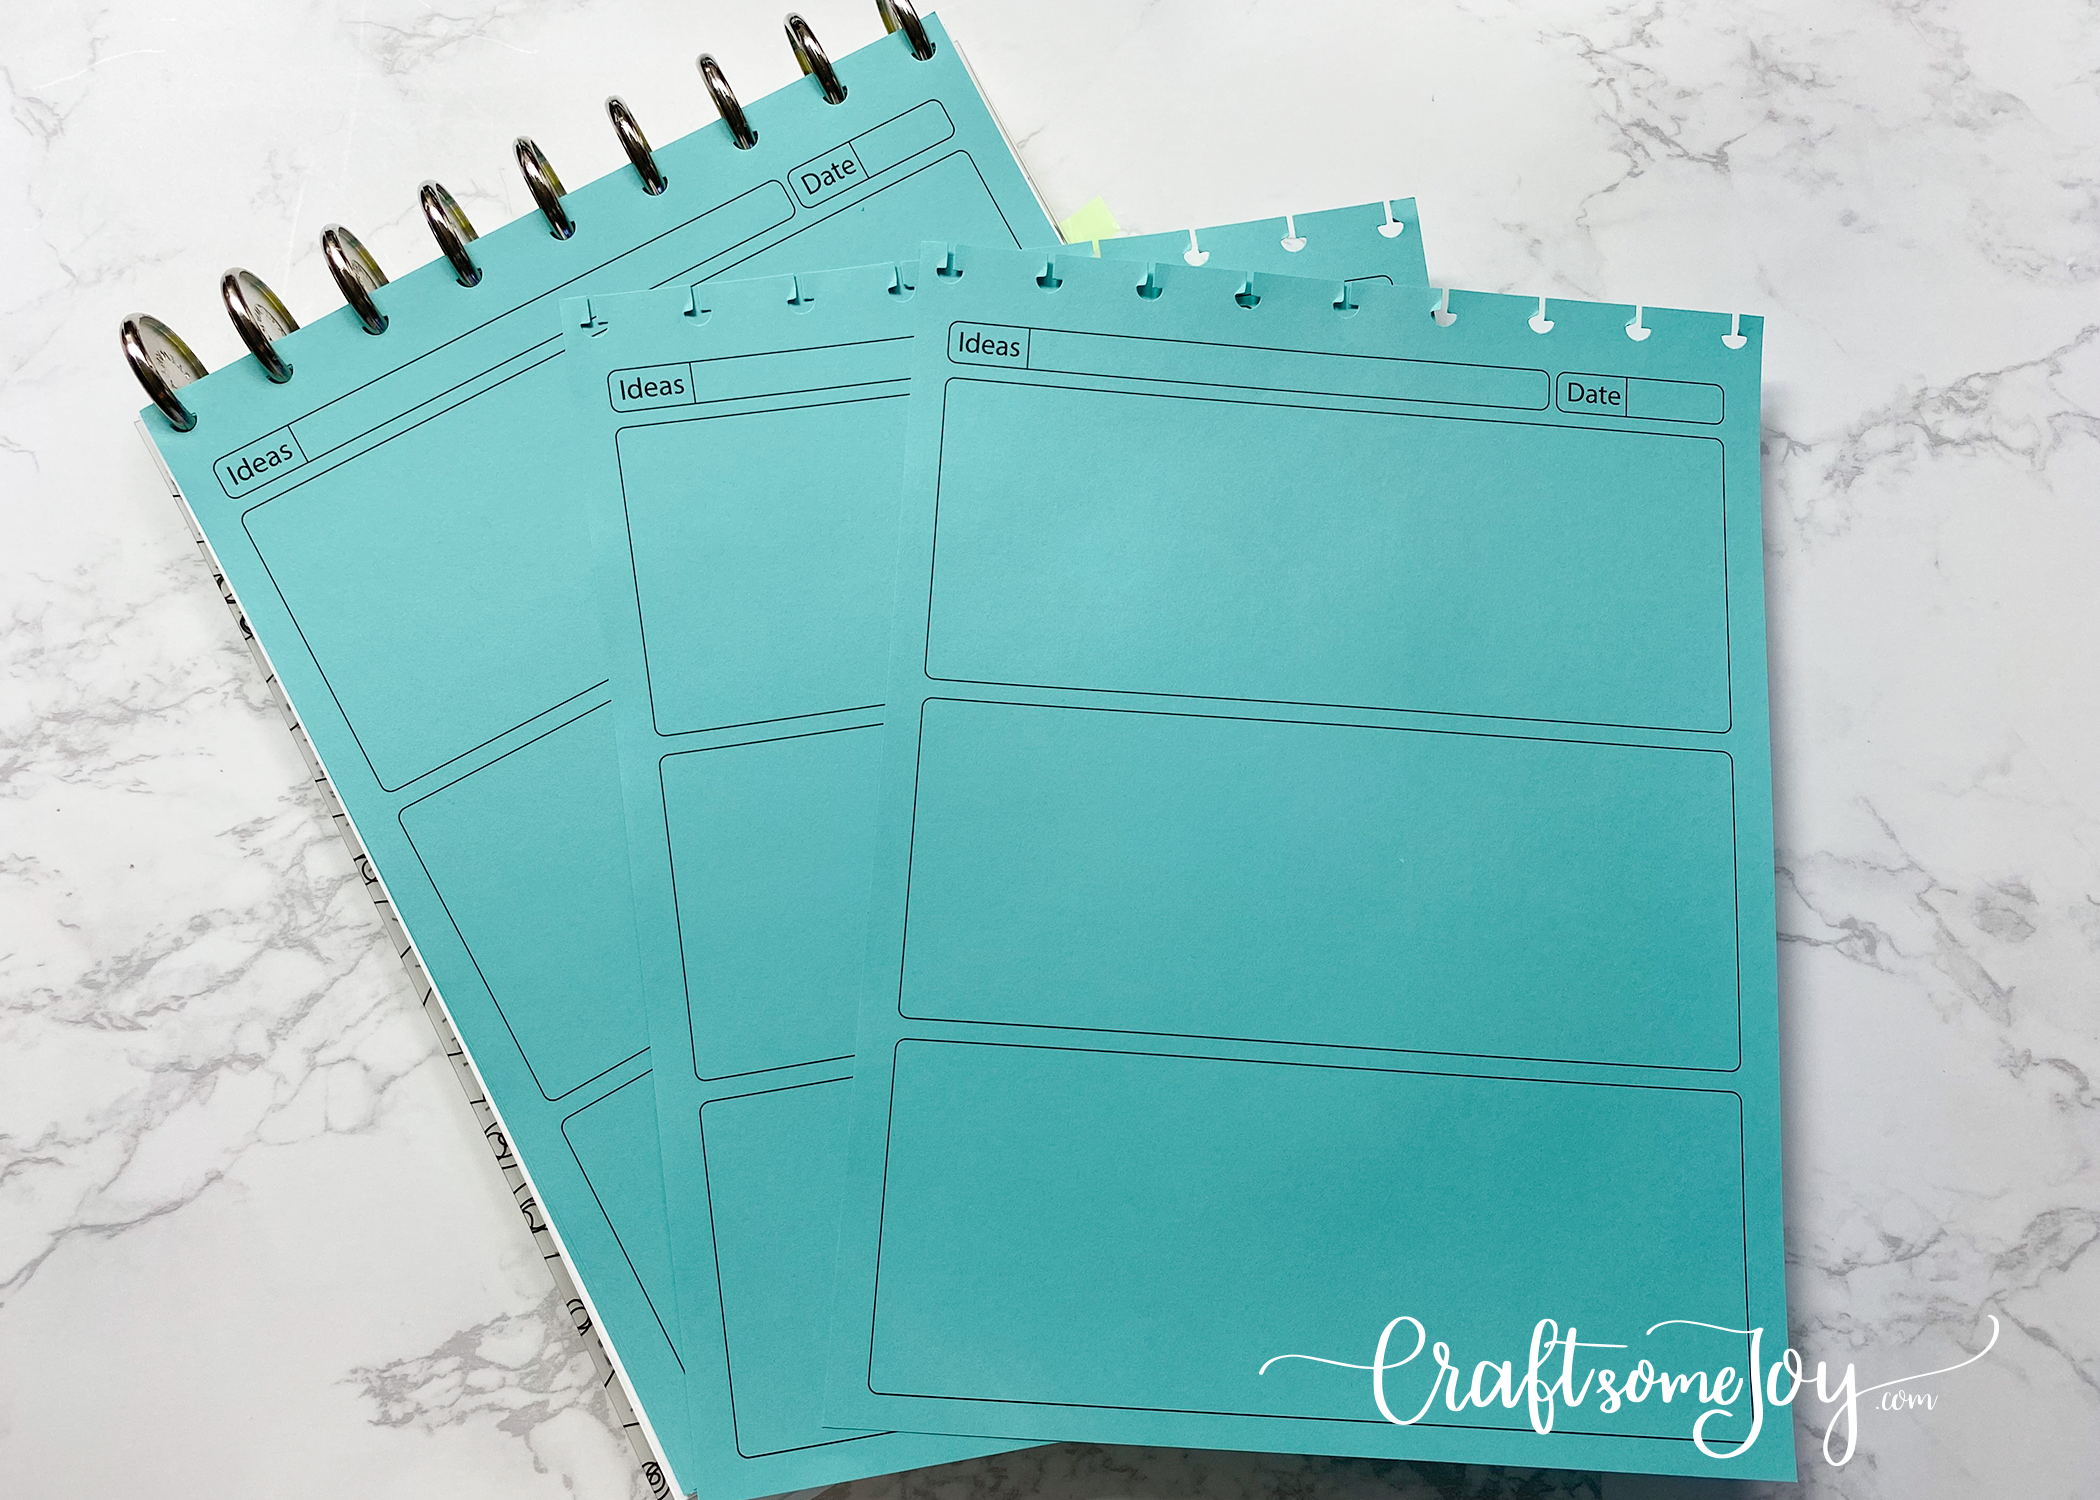
I added some cardstock and my favorite Avery ultra tabs to my notebook to create dividers and then made some templates to help me with my videos, working off Sea Lemon’s idea. I printed them on bright yellow paper so they would be easy to find in my notebook. You can find the download here. I also created another template to have a place to jot down ideas, which I printed on blue paper and that is sorted behind its own tab, and which you can download here.

Once I got started, I thought of so many other ways to use this large format, top bound notebook! I created one with a cover made from a recycled plastic folder, and added tab dividers to organize my house project ideas. I punched the top of the page with my happy planner punch and everything just pops right in! My husband even said he wanted a notebook, so I made him one out of a folio and a note pad that we had around the house. This style gives you so much flexibility, the discs allow you to move things around and take things in and out easily. The top binding keeps the rings out of your way, whether you are right or left handed, and it just feels like you have more room on the page.

Another area I wanted to organize was my numerous craft projects. With so many different types of crafts that I like to do, I would easily forget what I started, what projects were priority, and where I was with the different projects I was working on. I always felt a bit scatterbrained. I really needed a way to keep up with my changing moods of what project I wanted to work on! I decided for this organizer I wanted to use the classic happy planner size. I came up with a template where I can keep track of all my craft projects. Then I used the happy planner tabs and the Avery ultra tabs to divide the notebook into the different areas of craft projects. This also helps keep track of the supplies I am using for each project, where I am in the process, and helps me decide where to focus. It is so helpful to have this written down! This is also a great way to keep track of card projects, and track the supplies, dies, punches and swatches used for making each card. The template for organizing your craft projects can be found here.

This last organizer is a project I had been working on for a while, off and on, which is how to organize my scrapbooking projects and a way to keep track of my photos and printing process. I made several attempts at how to find a way to get this down on paper, and then came up with my “tracking” system. I call this system “Crafting a Beautiful Life” and the download for all these templates can be found here. I made 3 tabs in my happy notes book, and used my label maker with clear tape to label the tabs: albums, photos, and supplies.
Behind the albums tab are two templates. First is an “album tracker” which is a broad overview of all the album projects that I wanted to create. Each page can be a different category of album such as family albums, vacation albums, or children’s albums. Then you track each album! The status column on the right has notations, NS=not started, IP=in process, or C=complete. For each album you mark as NS or IP, you move on and fill out the next template, the “album project” page. This is a way to keep track of where you are for each album project, with prompts to help you along the way.

The next tab is the photos tab, and where you will find the next template. To tackle keeping track of my photos, I created a “print tracker,” so every time I worked on sorting, editing and printing my photos, I had a way of noting of where I was in the process. I have found it is easier to work on my photos in small batches, to this template helps me remember what I have accomplished.
I finished off this organizer with a “supply tracker” which is found behind the supplies tab, to have a place to note all my essential craft room supplies such as photo paper, scrapbook pages, page protectors, and adhesive. I use a simple bullet journalling format for noting what I have on hand. I also included a wish list template to tuck behind the supplies to note all those fun things -and necessary items- I would like to add to my stash.
After using these notebooks for several weeks, I am finally feeling that I have all these different projects under control. Being able to have a system to use with templates, and the flexibility of the disc bound notebooks has brought a wonderful feeling of organization. Let me know if you give this a try and if it helps keep your projects organized.